Wow! Where do the years go?! It blows my mind to think it’s been nearly 18 years since I wrote my first post! So many memories are recorded here. It also blows my mind to think that my only grandchild has grown up through those 18 years, has now graduated from high school, and will be starting college in less than 2 weeks!!
As I’ve maybe mentioned a time or two, I’ve considered ending my blogging journey. Somewhere in the last year or so, I decided that Courtney’s graduating from high school would be an appropriate time to call it quits here, since so many of my posts have included her. As is my usual style, I’ve procrastinated at that, too, but now it’s really going to happen. This is my final post to the ol’ A Photo’s Worth blog. I’ll try to keep it ‘short and sweet’, but that might be hard.
To begin the end, here’s Courtney right after the graduation ceremony. To say I’m super proud of her and all her accomplishments would be an understatement. I love her so much!!
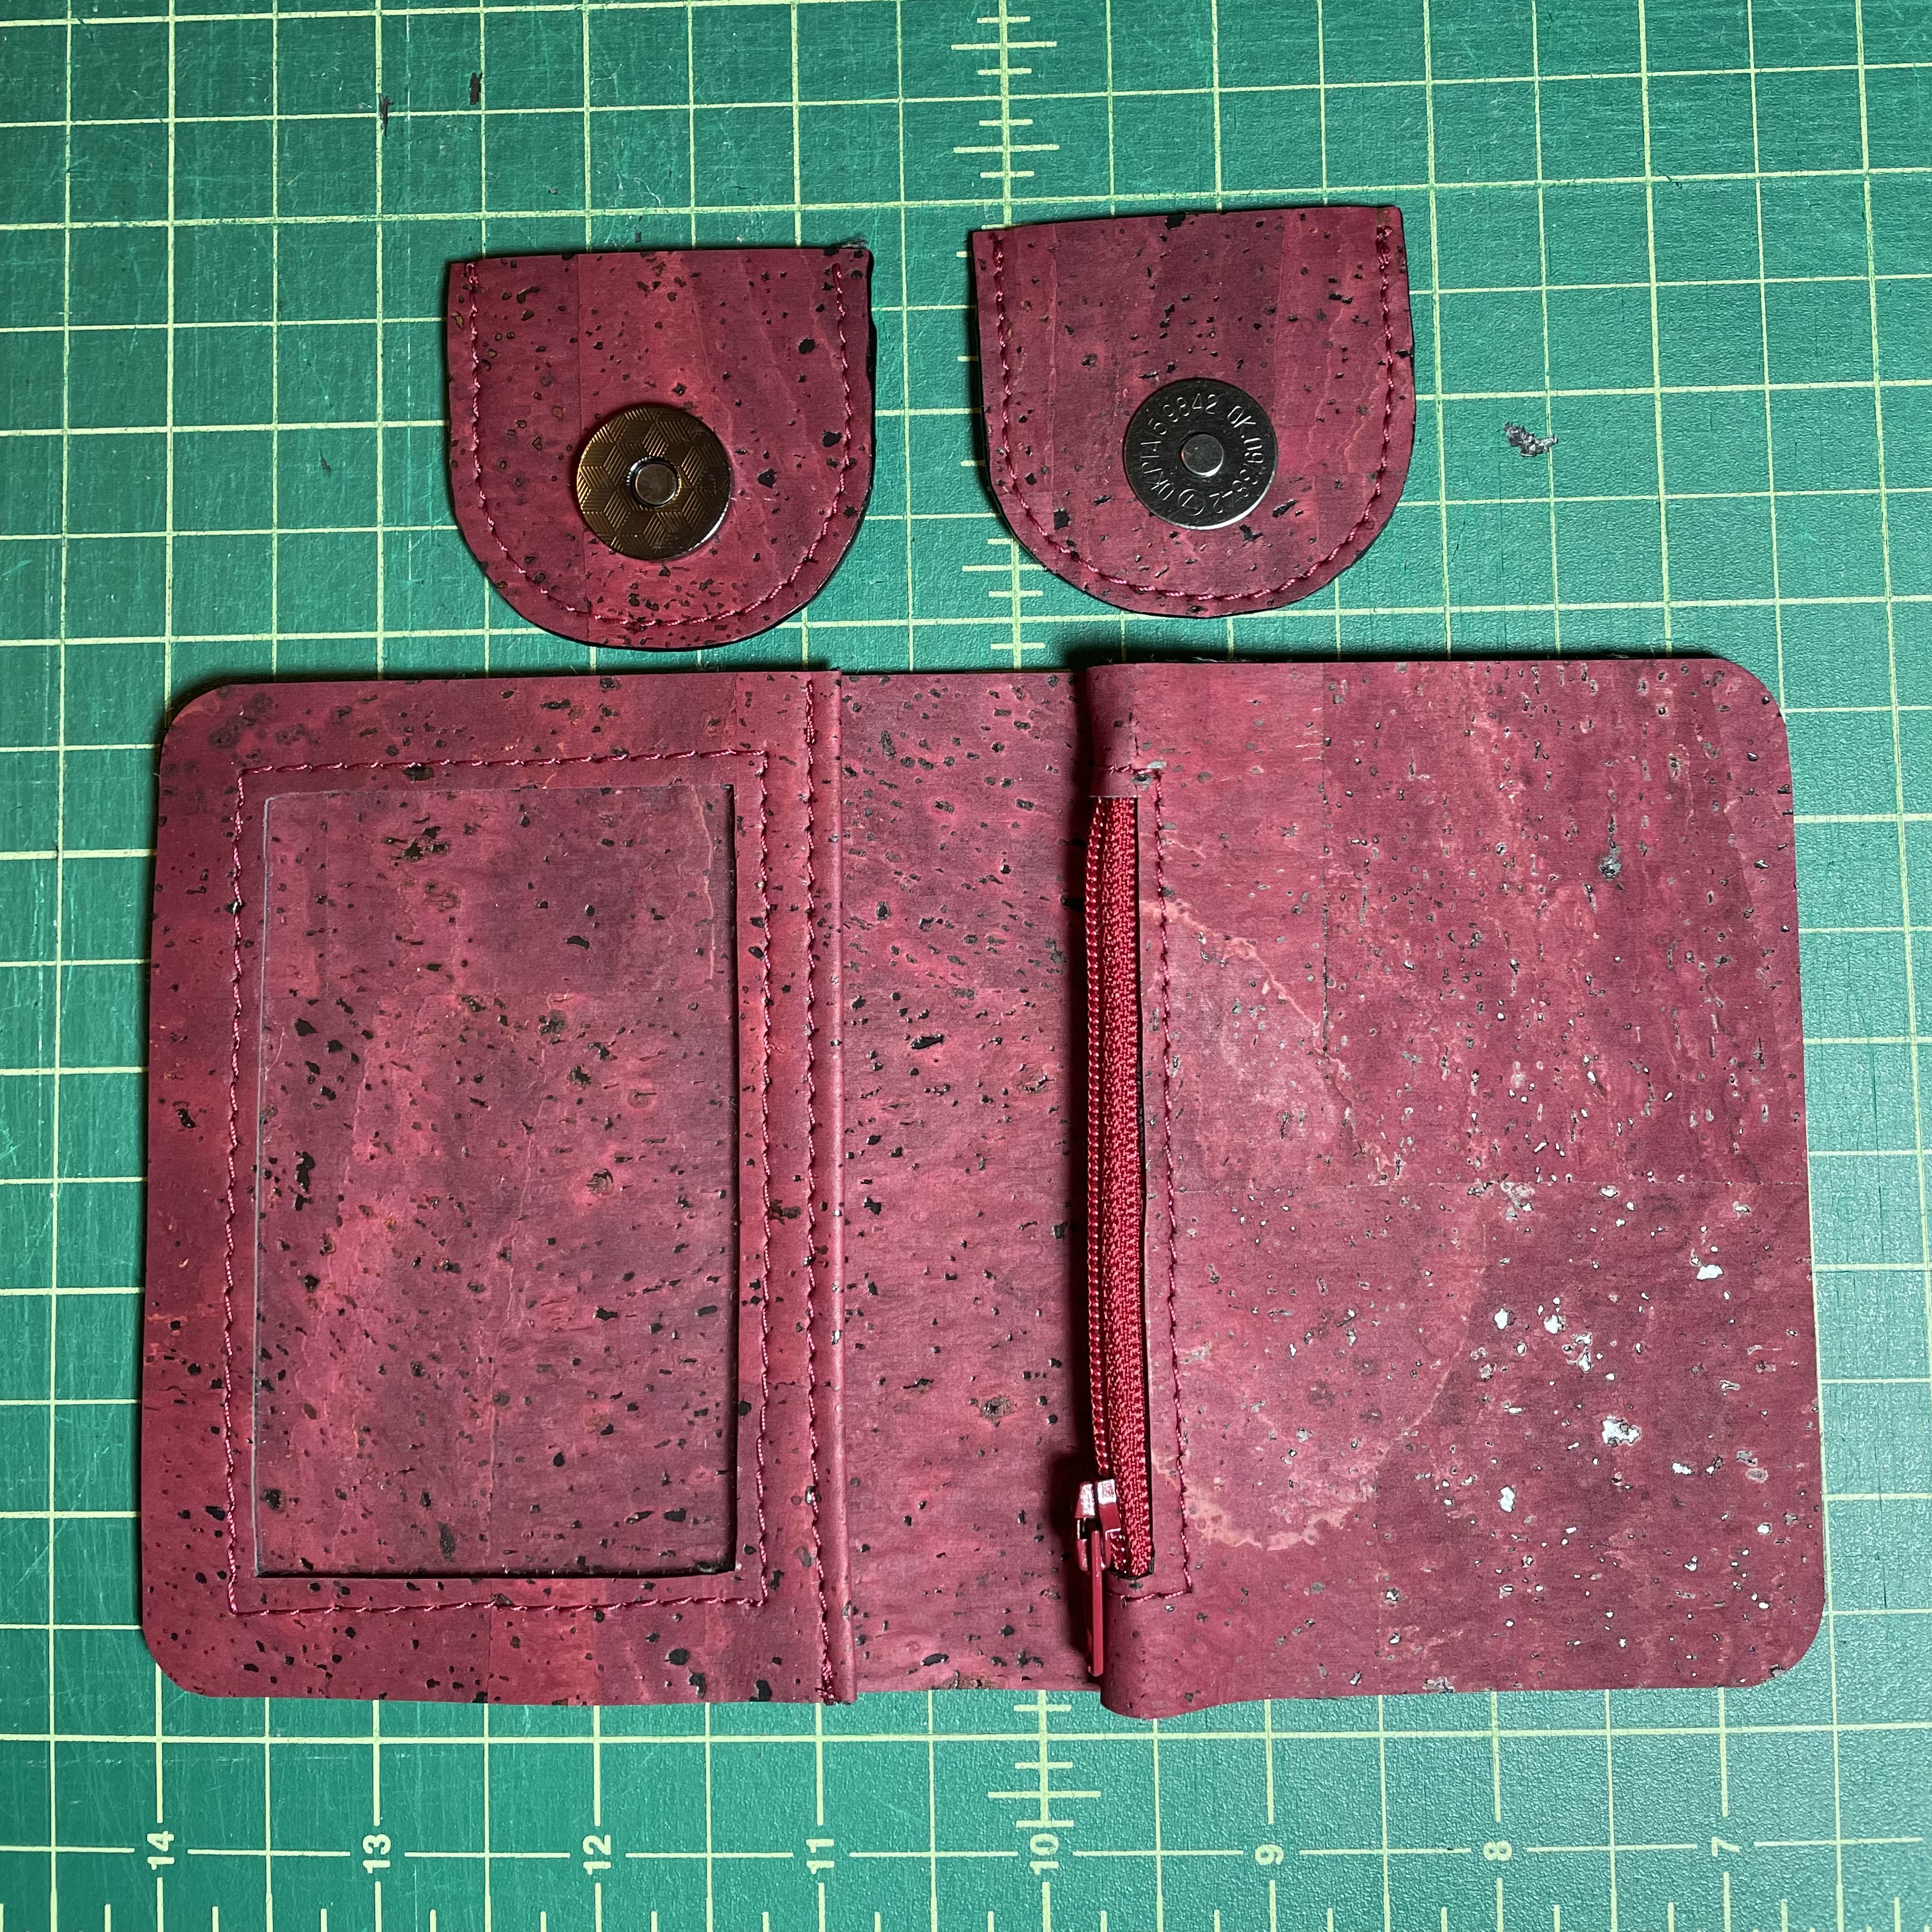
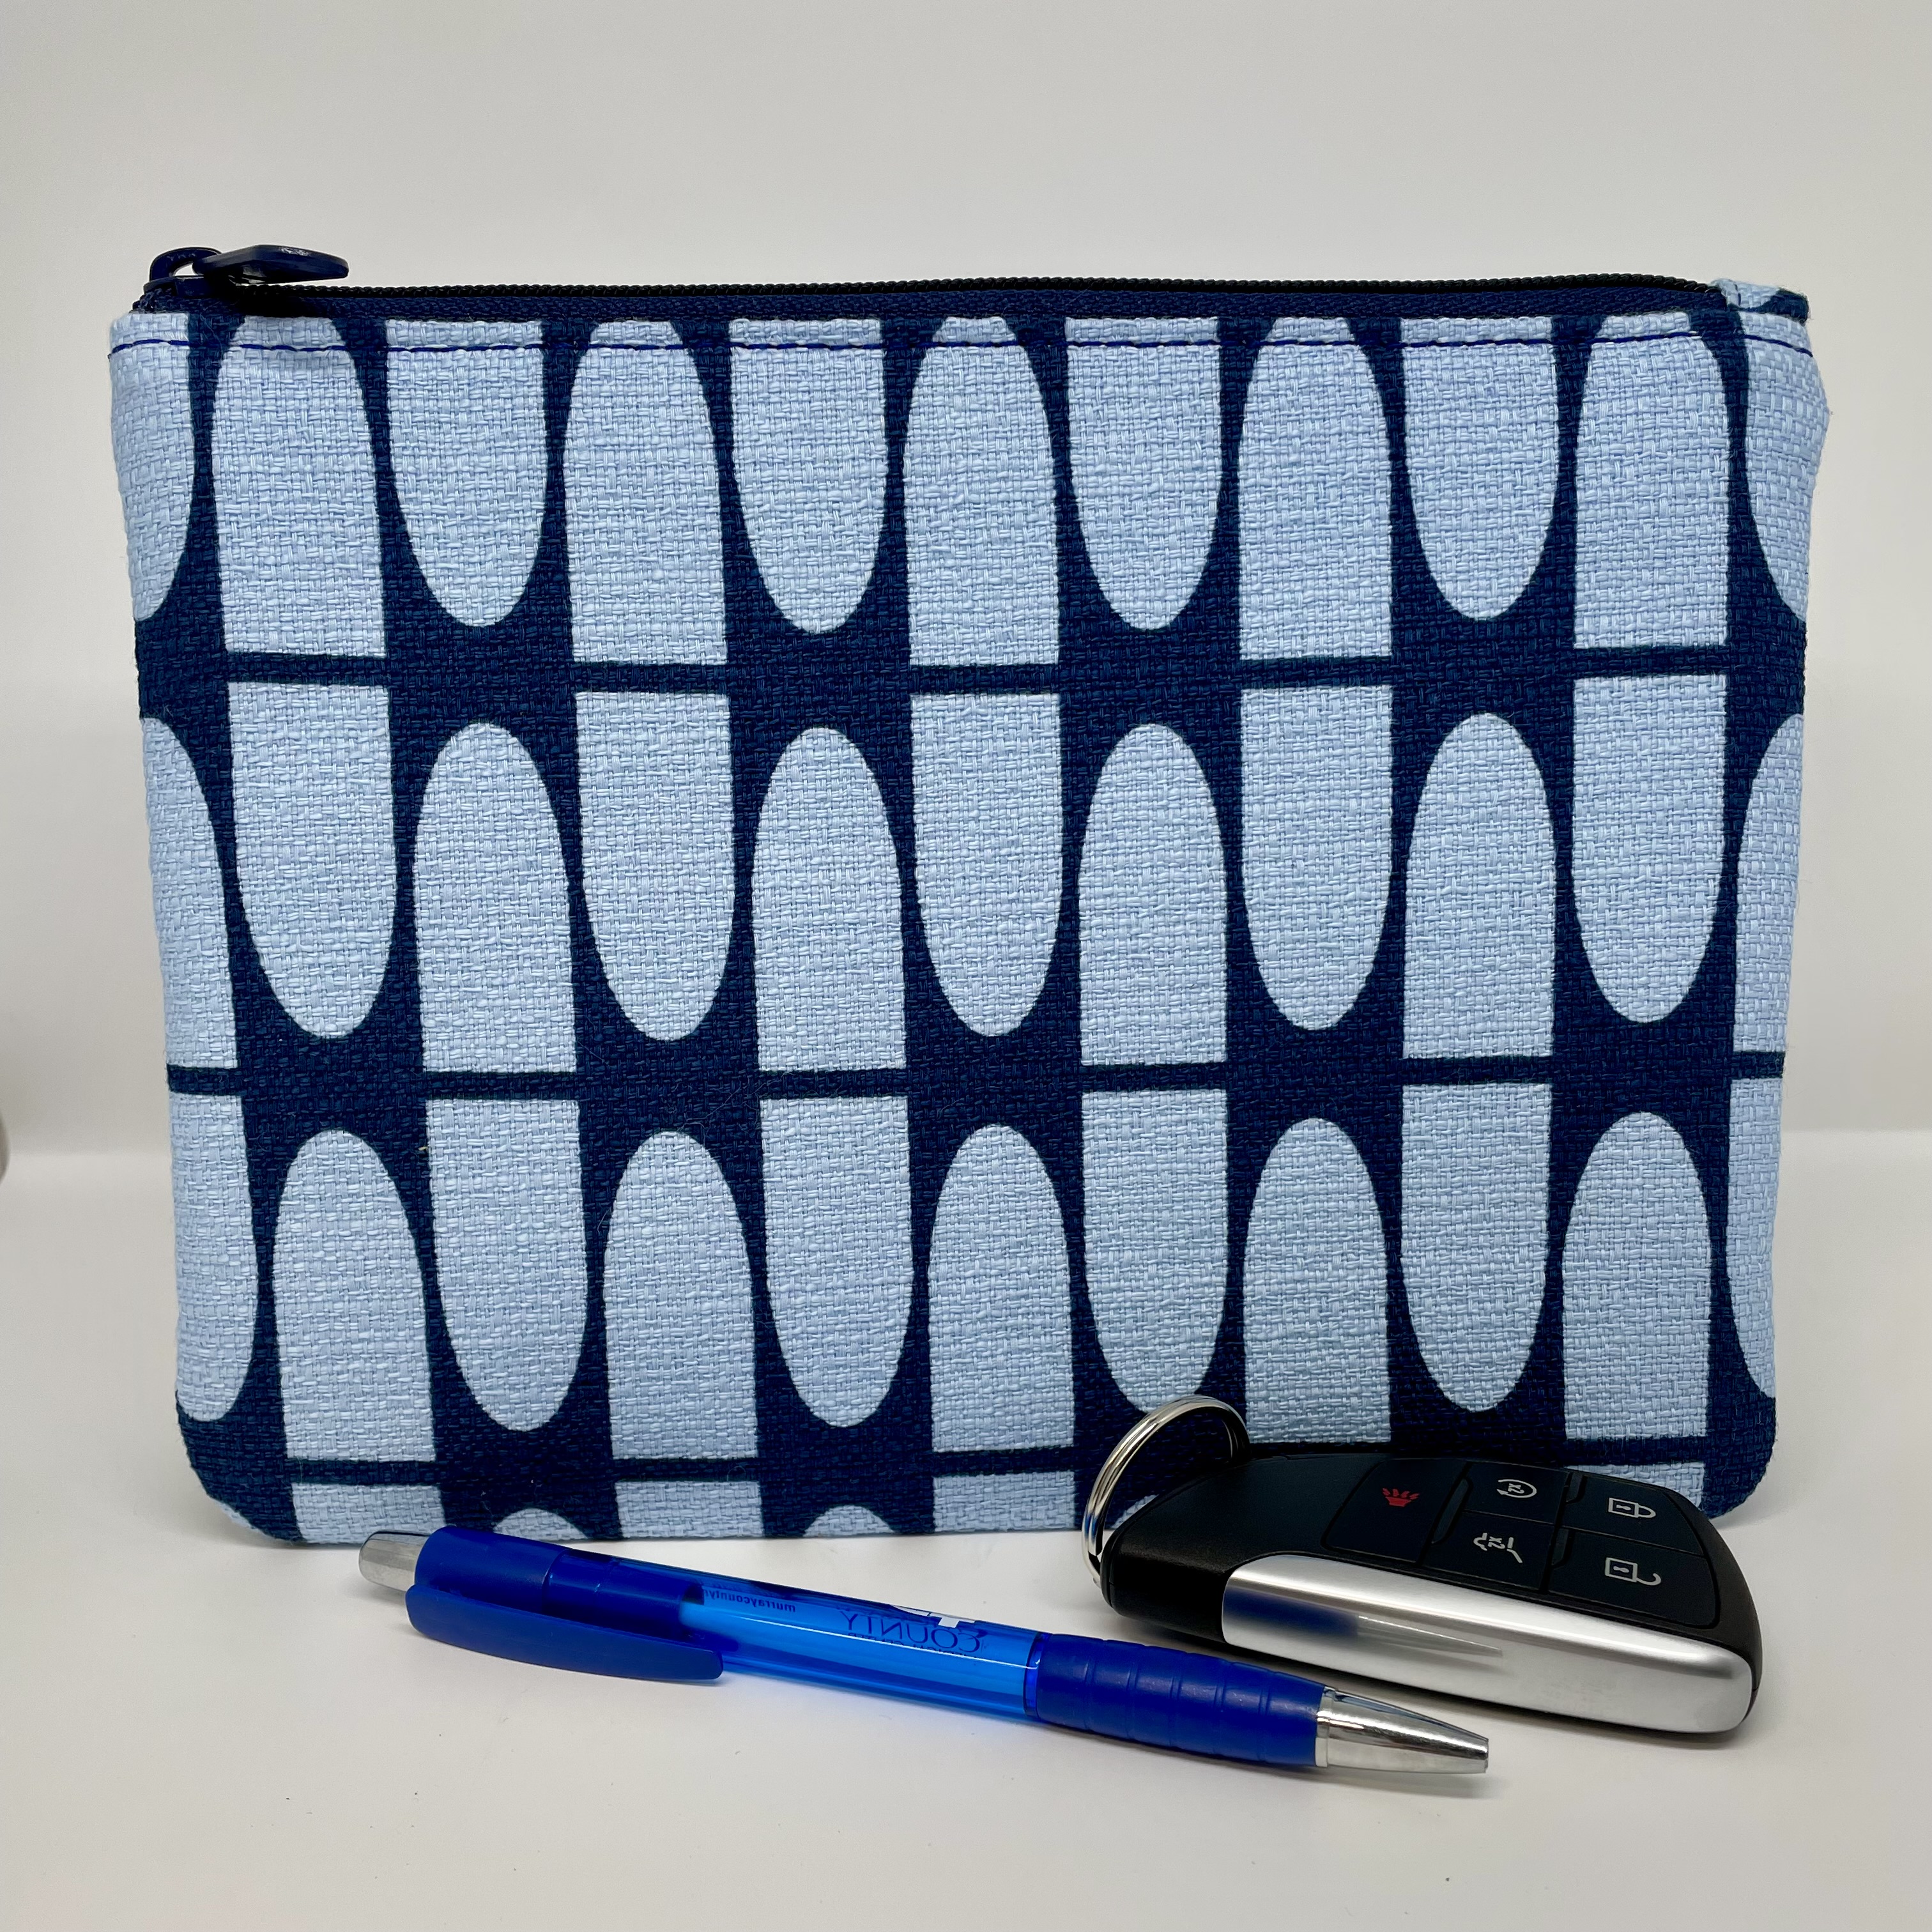
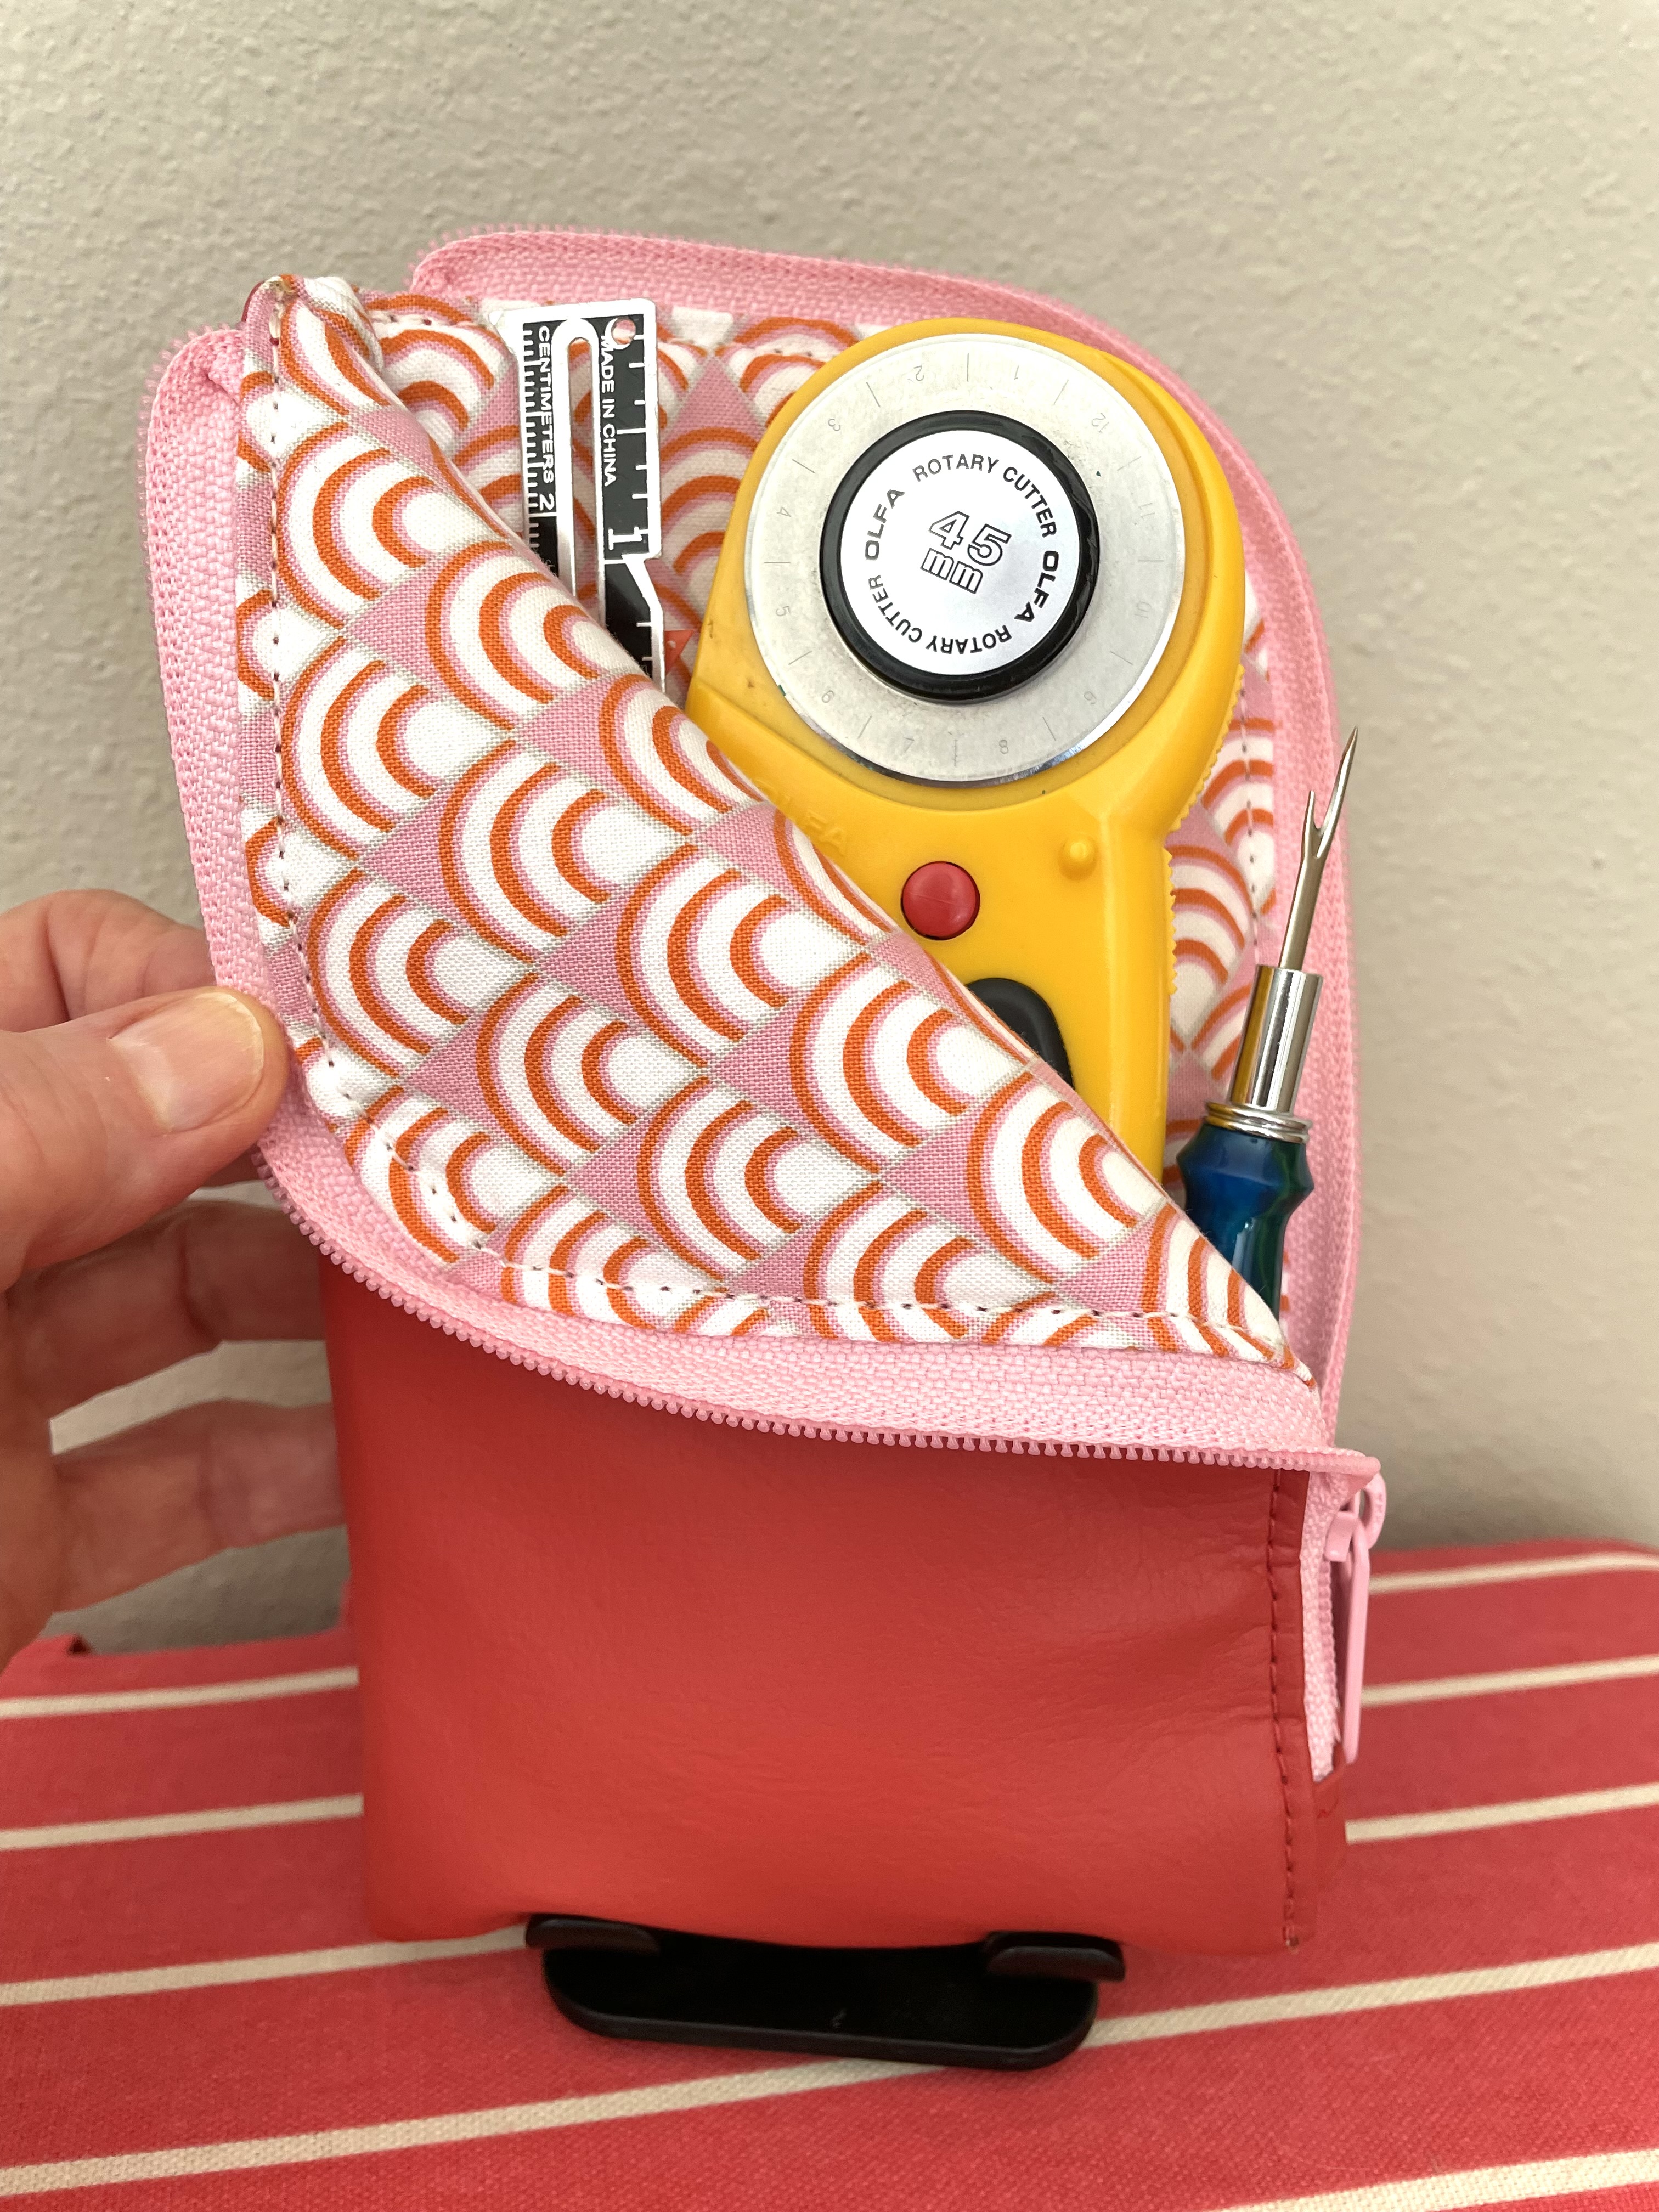
Of course, what kind of a celebration would it be without a handsewn gift from Grandma G? I made a couple of little Dog Under My Desk
pouches to hold little gifts, one for Courtney and one for their exchange student from Italy. Courtney’s is the one on the left.
In Courtney’s pouch I tucked a little metal card I’d found online. I hope she pulls it out and gets some encouragement sometimes.
Ask me if I got teary when searching for the perfect gift items!
I was happy to find a card that said just what I wanted to say to her.
So graduation happened and was celebrated with a perfect weather day and a lovely outdoor party at their house.
A few weeks later, Courtney asked me if I’d make her a little purse. I was delighted that she asked, and of course I said yes! She chose a pattern she liked and fabrics from my stash, and I went to work. In keeping this short, I’ll just show you a collage of some progress photos I took along the way. You can click on it to enlarge and see details better if you wish.
The pattern was from the
Pisces Pack add-on to the
Aries Crossbody bag by
Knotted Threads Co. I have to say, Shannon’s patterns can’t be beat! She has all the details and tips to make a bag a success, as well as a video tutorial. The purse came together very well, with the biggest challenge being getting the top edge of the bag under my presser foot to get started on the final topstitching.
Here is the purse I made for Courtney. We were both pretty pleased with how it turned out.
(Hey, I remembered my label!)
The coolest part of the bag was the quilting on the front and back. The pattern included the how-to to make it come out just right.
Here’s the purse on its first major trip - to Universal Studios in Orlando! Courtney, her mom, and Auntie Jess went on a girls’ trip to celebrate graduating and just to have some fun together, which they did. (Ignore the fact that Jess is NOT carrying a Grandma G-made purse. I don’t know how that happened!!)
So that’s it, folks. My last post. The blog will remain online as long as Blogger doesn’t shut down, so feel free to browse through any old posts. I bid you all a fond farewell, and you can still find me on Instagram - @grandma_g415. Bye-bye! ❤️