When I was waiting for a pattern to arrive to make the dress in the previous post, I thought I might have time to work on a pattern (which I’d already proofread) test bag for Linds Handmade Designs, so I quickly put together a selection of fabrics. Now, ‘quickly’ doesn’t usually happen for me when I’m choosing fabrics for a project. Normally it takes me a long time, because I keep changing my mind, always looking for the perfect combination. This combo just seemed to jump out at me. However, the pattern arrived too soon (there was no tracking to forewarn me), and I didn’t even get to begin cutting. I put everything aside until later. Well, later happened! This is Linds’s latest, the Fiona Foldover.
It was a pretty straightforward bag to make and easy to sew. I used both of my machines so that I didn’t have to change tensions for the different thicknesses of fabric. My Sailrite machine still thrills me with the topstitching it does… here on the D-ring connectors…..
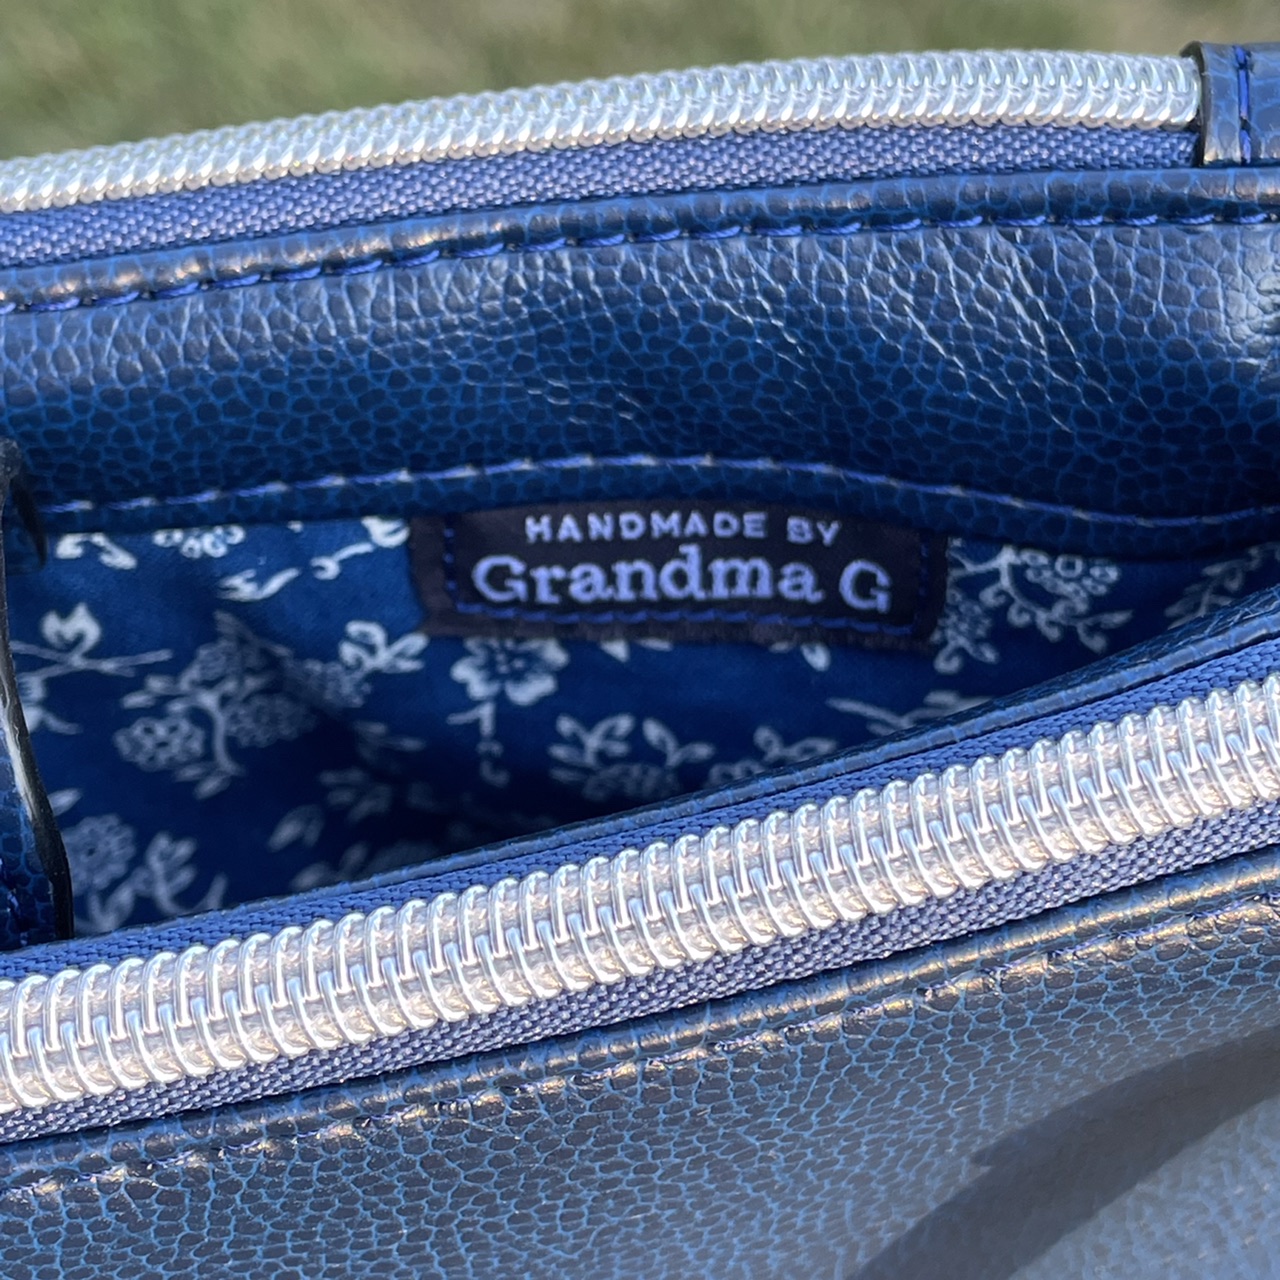
… and along this zipper! Gorgeous, huh?
I tried something I’d never used before on this bag. The pattern was written for a hidden magnetic snap to secure the flap to the main body, with instructions also for using a regular magnetic snap. I have some hidden ones in my stash, but I really wanted to try out the magnetic snap RIVETS I’d bought awhile back (along with the dies to set them with). It was fun, and made attaching that snap so simple! Here’s what each side of the snap looks like. The back is just like a rivet.
There’s a zipper pocket inside the main body of the bag. It’s trimmed with a piece of the outer vinyl, and I even edge coated it to make it look nicer. The zipper I decided to use was a wee bit short, but it’s one that Jess bought me in Japan a few years ago, and this seemed like a great place to use it. The tape is a clear vinyl, so the blue of the pocket lining shows through. I like the pull, too.
The only trouble I had was the final topstitching. The vinyl was pretty thick and had kind of a spongy-like backing (see snap photo above), and with all those layers at the D-ring connectors, it was just too thick to even fit under the presser foot on my Sailrite (though I’m sure it could’ve sewn through it if it had fit). It would’ve fit under the Kenmore one, though I didn’t even consider it at the time (photo below right was taken after the bag was completed), but I think it would’ve struggled with all the layers.
So I opted to use rivets for added security in that area (too bad I didn’t get them even. 😏) They are 8mm rivets, and they just barely made it through even below the thickest part of the seam! I’m not sure they’ll even hold, but I used a press, so with the spongy vinyl, maybe they sank in far enough to hold. If not and they start coming loose, I’ll just replace them with 10mm ones (which I still need to order to have on hand).
Here’s a selfie of me so you can get an idea of the size. Ignore my baggy pants of the day and the baggy, wrinkly skin on my old arms. 🥺
I think the bag would look better if it had a strap made out of the same vinyl as the body. I wanted to do that just to be able to see all that beautiful topstitching, but I was afraid I might run out of thread! I could still do it someday, though, and just swap out the straps and save the webbing one for something else.
I’m already planning another bag. I bought the pattern weeks ago when it first came out, but I think this is going to be MY perfect bag, so the decision process on fabrics, etc., has been a long one. I think I’m about ready to start cutting finally. However, I’ve told myself I MUST organize my fabric stash and everything that came out of my new sewing room and got moved to the old one first! I’ve been working on it the last few days and making progress. It’s not easy! Organizing is not my thing. But I do want there to be a nice guest room for the next time Jess and Alex come… good incentive! 💕