I guess I’d better quit procrastinating on finishing this post (I uploaded the photos over a week ago), since I already have another project completed. I definitely enjoy the sewing more than I do fighting with Blogger and writing about it. Ha.
This is the Cross My Body Bag from the pattern by ChrisW Designs. It’s the first pattern of hers that I’ve sewn, and it was great; well-written and easy to follow.
The pattern called for quilting the exterior fabric to foam. Now, any of you who know me know I’m not a quilter. I’ve quilted a few pieces before, but mainly as parts of a bag. I really didn’t want to do just straight-line designs, and I know I’d make a mess of free motion quilting, so after thinking a bit and remembering my Catch All Caddy, I decided I could quilt on the designs that were already on the fabric. BUT, the question was would I go nuts doing all that on the fabric I’d chosen from Jess’s barkcloth collection.
So I started with just a gusset piece, which wasn’t very big. It went okay, so then I did the other one. Before I knew it, I’d done all the pieces and found it not to be that bad a job. It went faster as I got a sort of rhythm to it. I was quite pleased with how the quilting looked.
Here’s a nice view with the light showing off the quilting:
I wanted a sturdier fabric for the bottom of the bag, so I chose a solid canvas. I couldn’t figure out how to easily transfer the same design as the rest of the bag, so I just made up my own design. I appreciated the curved rulers I’d bought awhile back in creating this design.
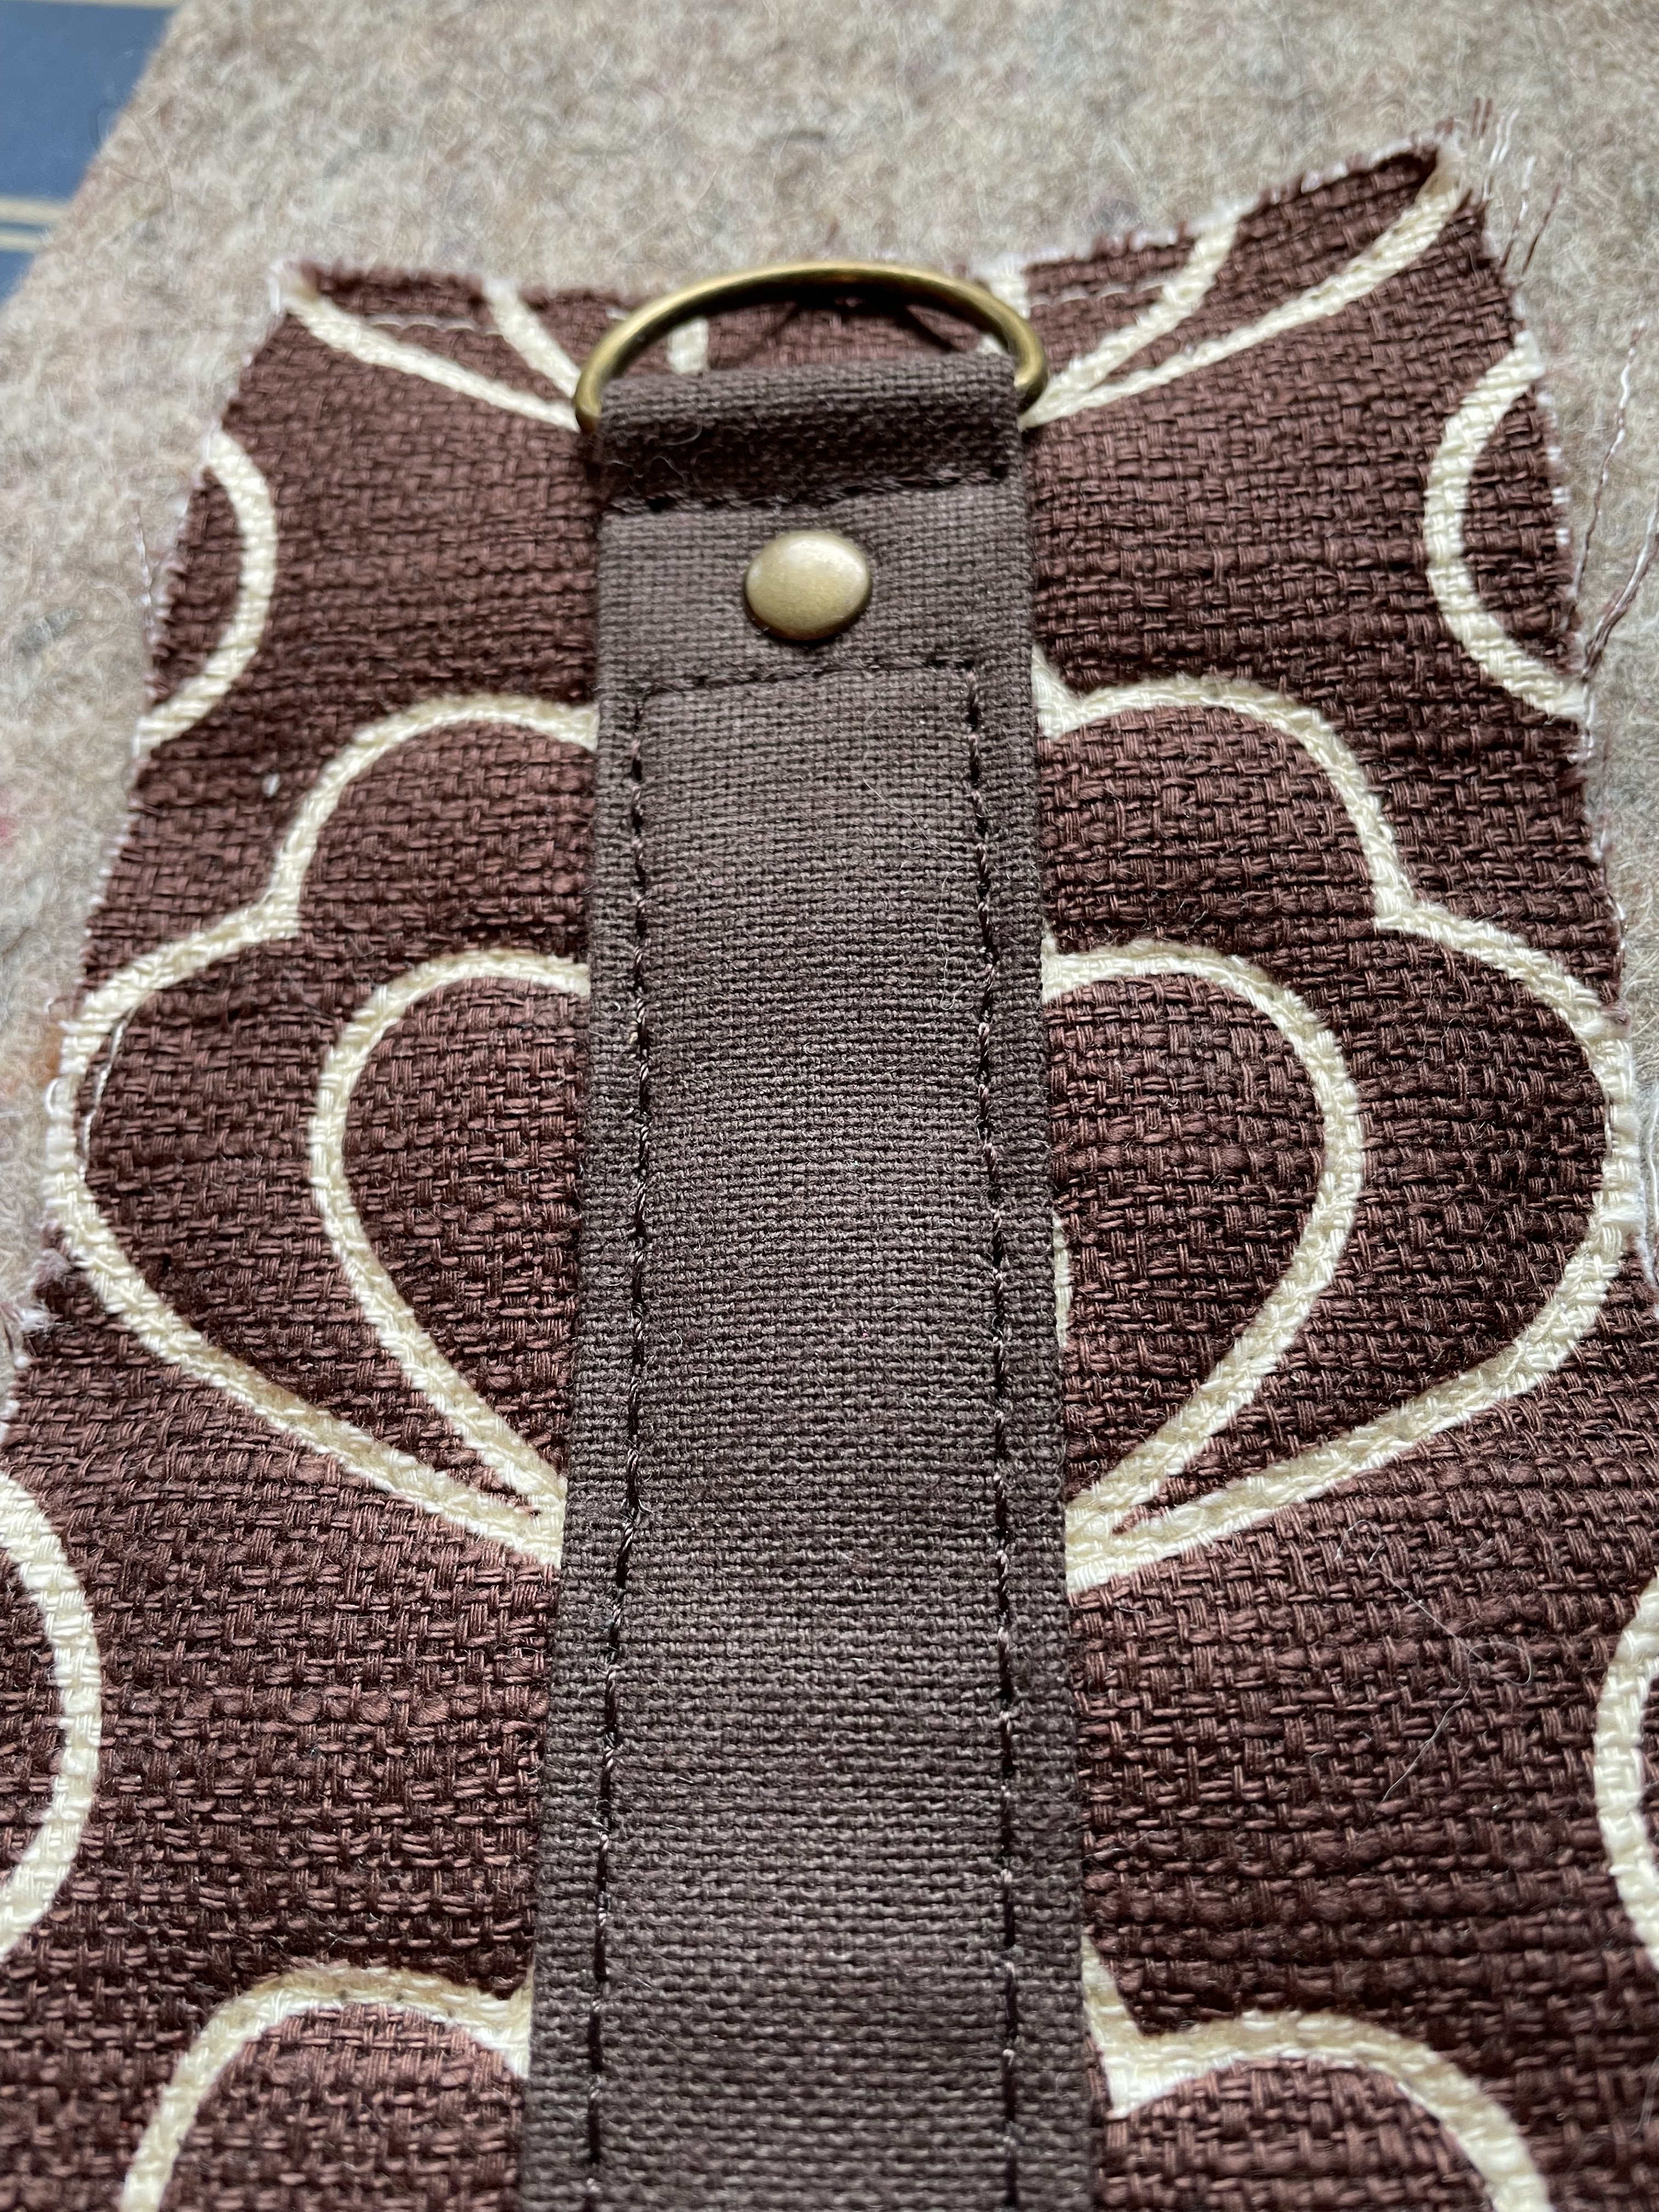
For most of the sewing I used my old Kenmore machine, but the Sailrite LSZ-1 did all the topstitching, beautifully, as always.
The main reason I chose this pattern was that it had a recessed zipper at the top that was closed at both ends. If you’re familiar with recessed zippers, they usually have an open space at either end of the zipper, and if your bag happened to tip over, things could spill out. So I wanted to learn how this new technique was done.
It really wasn’t hard to do, and I like the security it gives the bag. Because of the thicker fabrics I used (lining is waterproof canvas), I wasn’t able to topstitch all the way around the ends at the top edge of the bag, so I stitched as far as I could and then added a couple of rivets at each end. That worked out well.
Here are a few more progress photos. There’s a zipper pocket inside.
Here’s a bit of a view of the backside of the quilting, plus the padded phone pocket that’s on the exterior back:
The interior and exterior were sewn together and then turned through a pocket.
A lot of sewers like to staple a lot of their more challenging seams together to hold them until sewn. I haven’t really liked doing this and prefer to baste them by machine, but these thick ends made it too hard to do without the fabric slipping, so I gave up and stapled them, which helped a ton. Of course then the staples had to be removed after sewing the seam.
In one of my sewing groups, this stapler puller was recommended. It’s one slick little tool, and I love it! It works like a charm, and it’s also magnetized so the staples stay right there instead of flying all over. I got mine from Amazon. It of course works with paper and everything else you might put staples into.
Here are a few more photos (tap on pic to enlarge). There’s a hidden zipper pocket on the front of the bag behind that accent piece, and there’s the padded phone slip pocket that I previously mentioned on the back.
It’s a nice size that will hold a lot of stuff.
The one thing I notice about this type of zipper opening is that it limits your access to the bag, where the other type of recessed zippers allows for a much wider opening. Just something to keep in mind if you consider making this bag… so it’s easy access vs security.
Like I said, I have another project completed. I just need to get a modeling photo before can post. So I’ll be back… sometime.