If you’ve been following my blog long, you may remember I made a number of the Get Carded Wallets from the pattern by Dog Under My Desk. Here is a link to a few of them, and you can search the blog to find several more.
Erin decided to write a new pattern for basically the same wallet only using a non-fraying fabric such as cork or certain vinyls, so the edges can be left raw. This is my tester version of that new wallet. The outside has the clear vinyl window for a driver’s license or whatever.

There’s a small zipper pocket on the back to hold change.

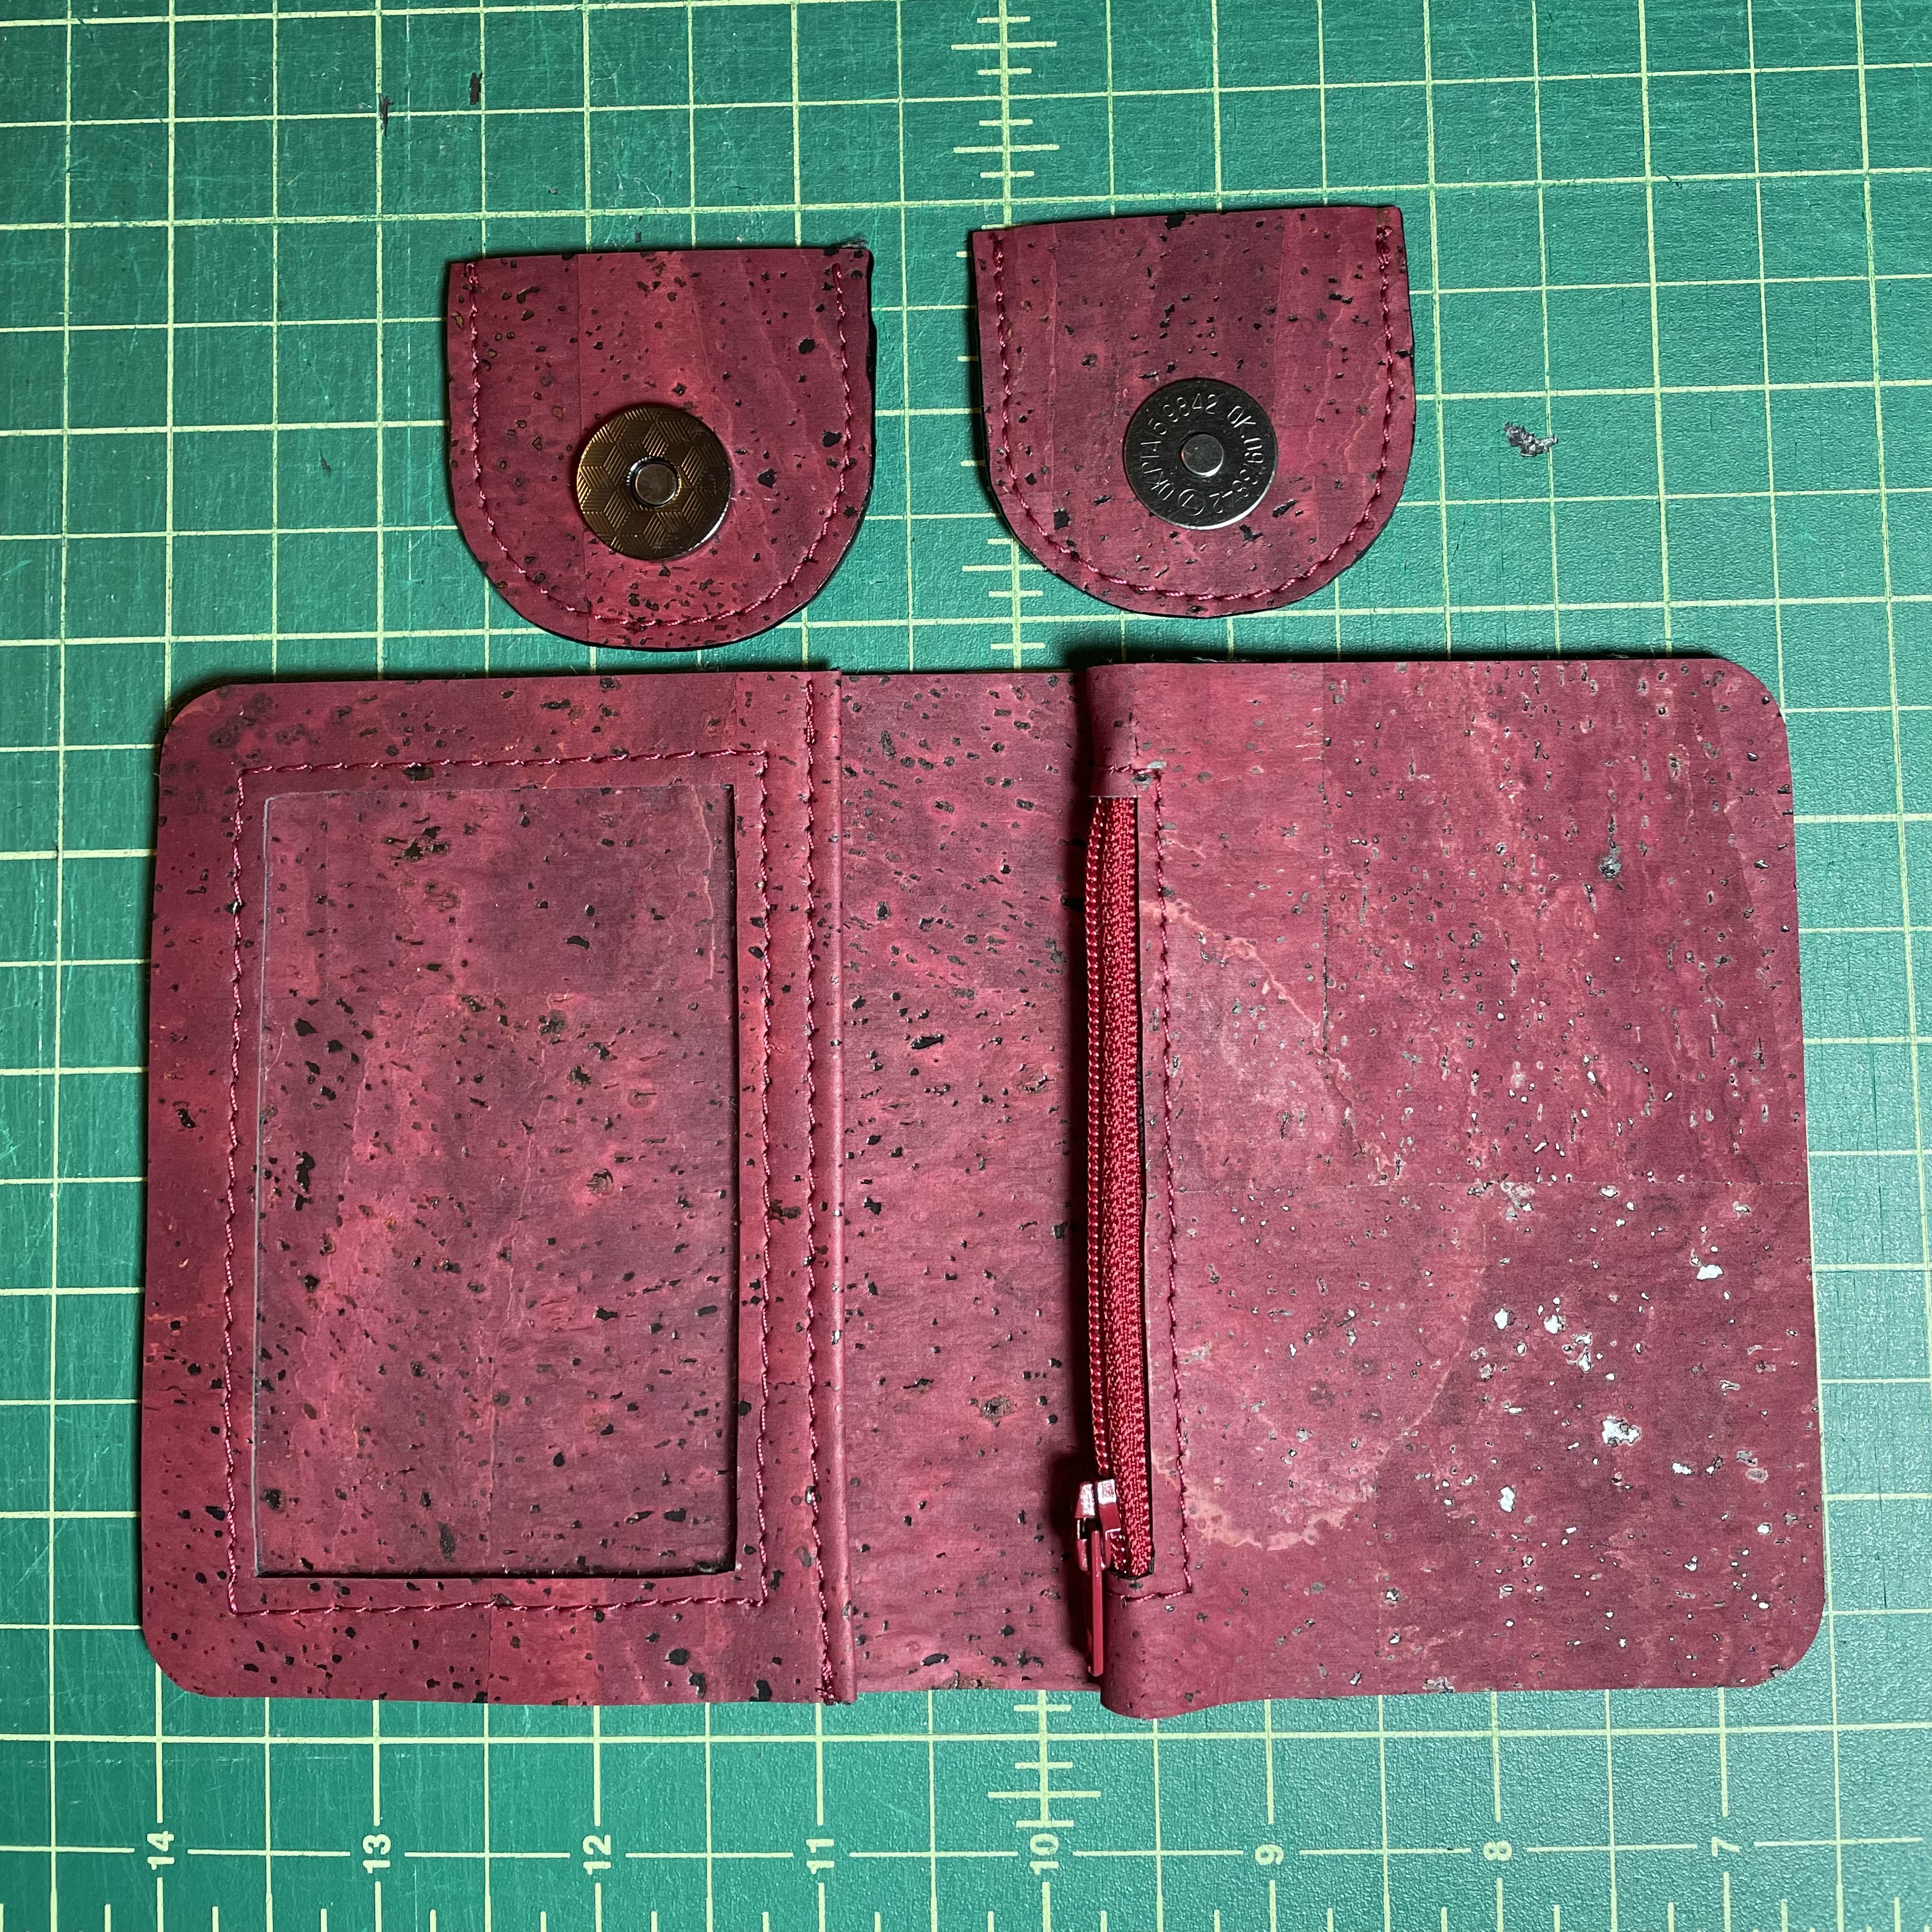
Here’s the inside, which has four card slots and a couple of slip pockets for bills, receipts, etc. Those rounded flaps contain invisible magnets to hold the wallet closed.

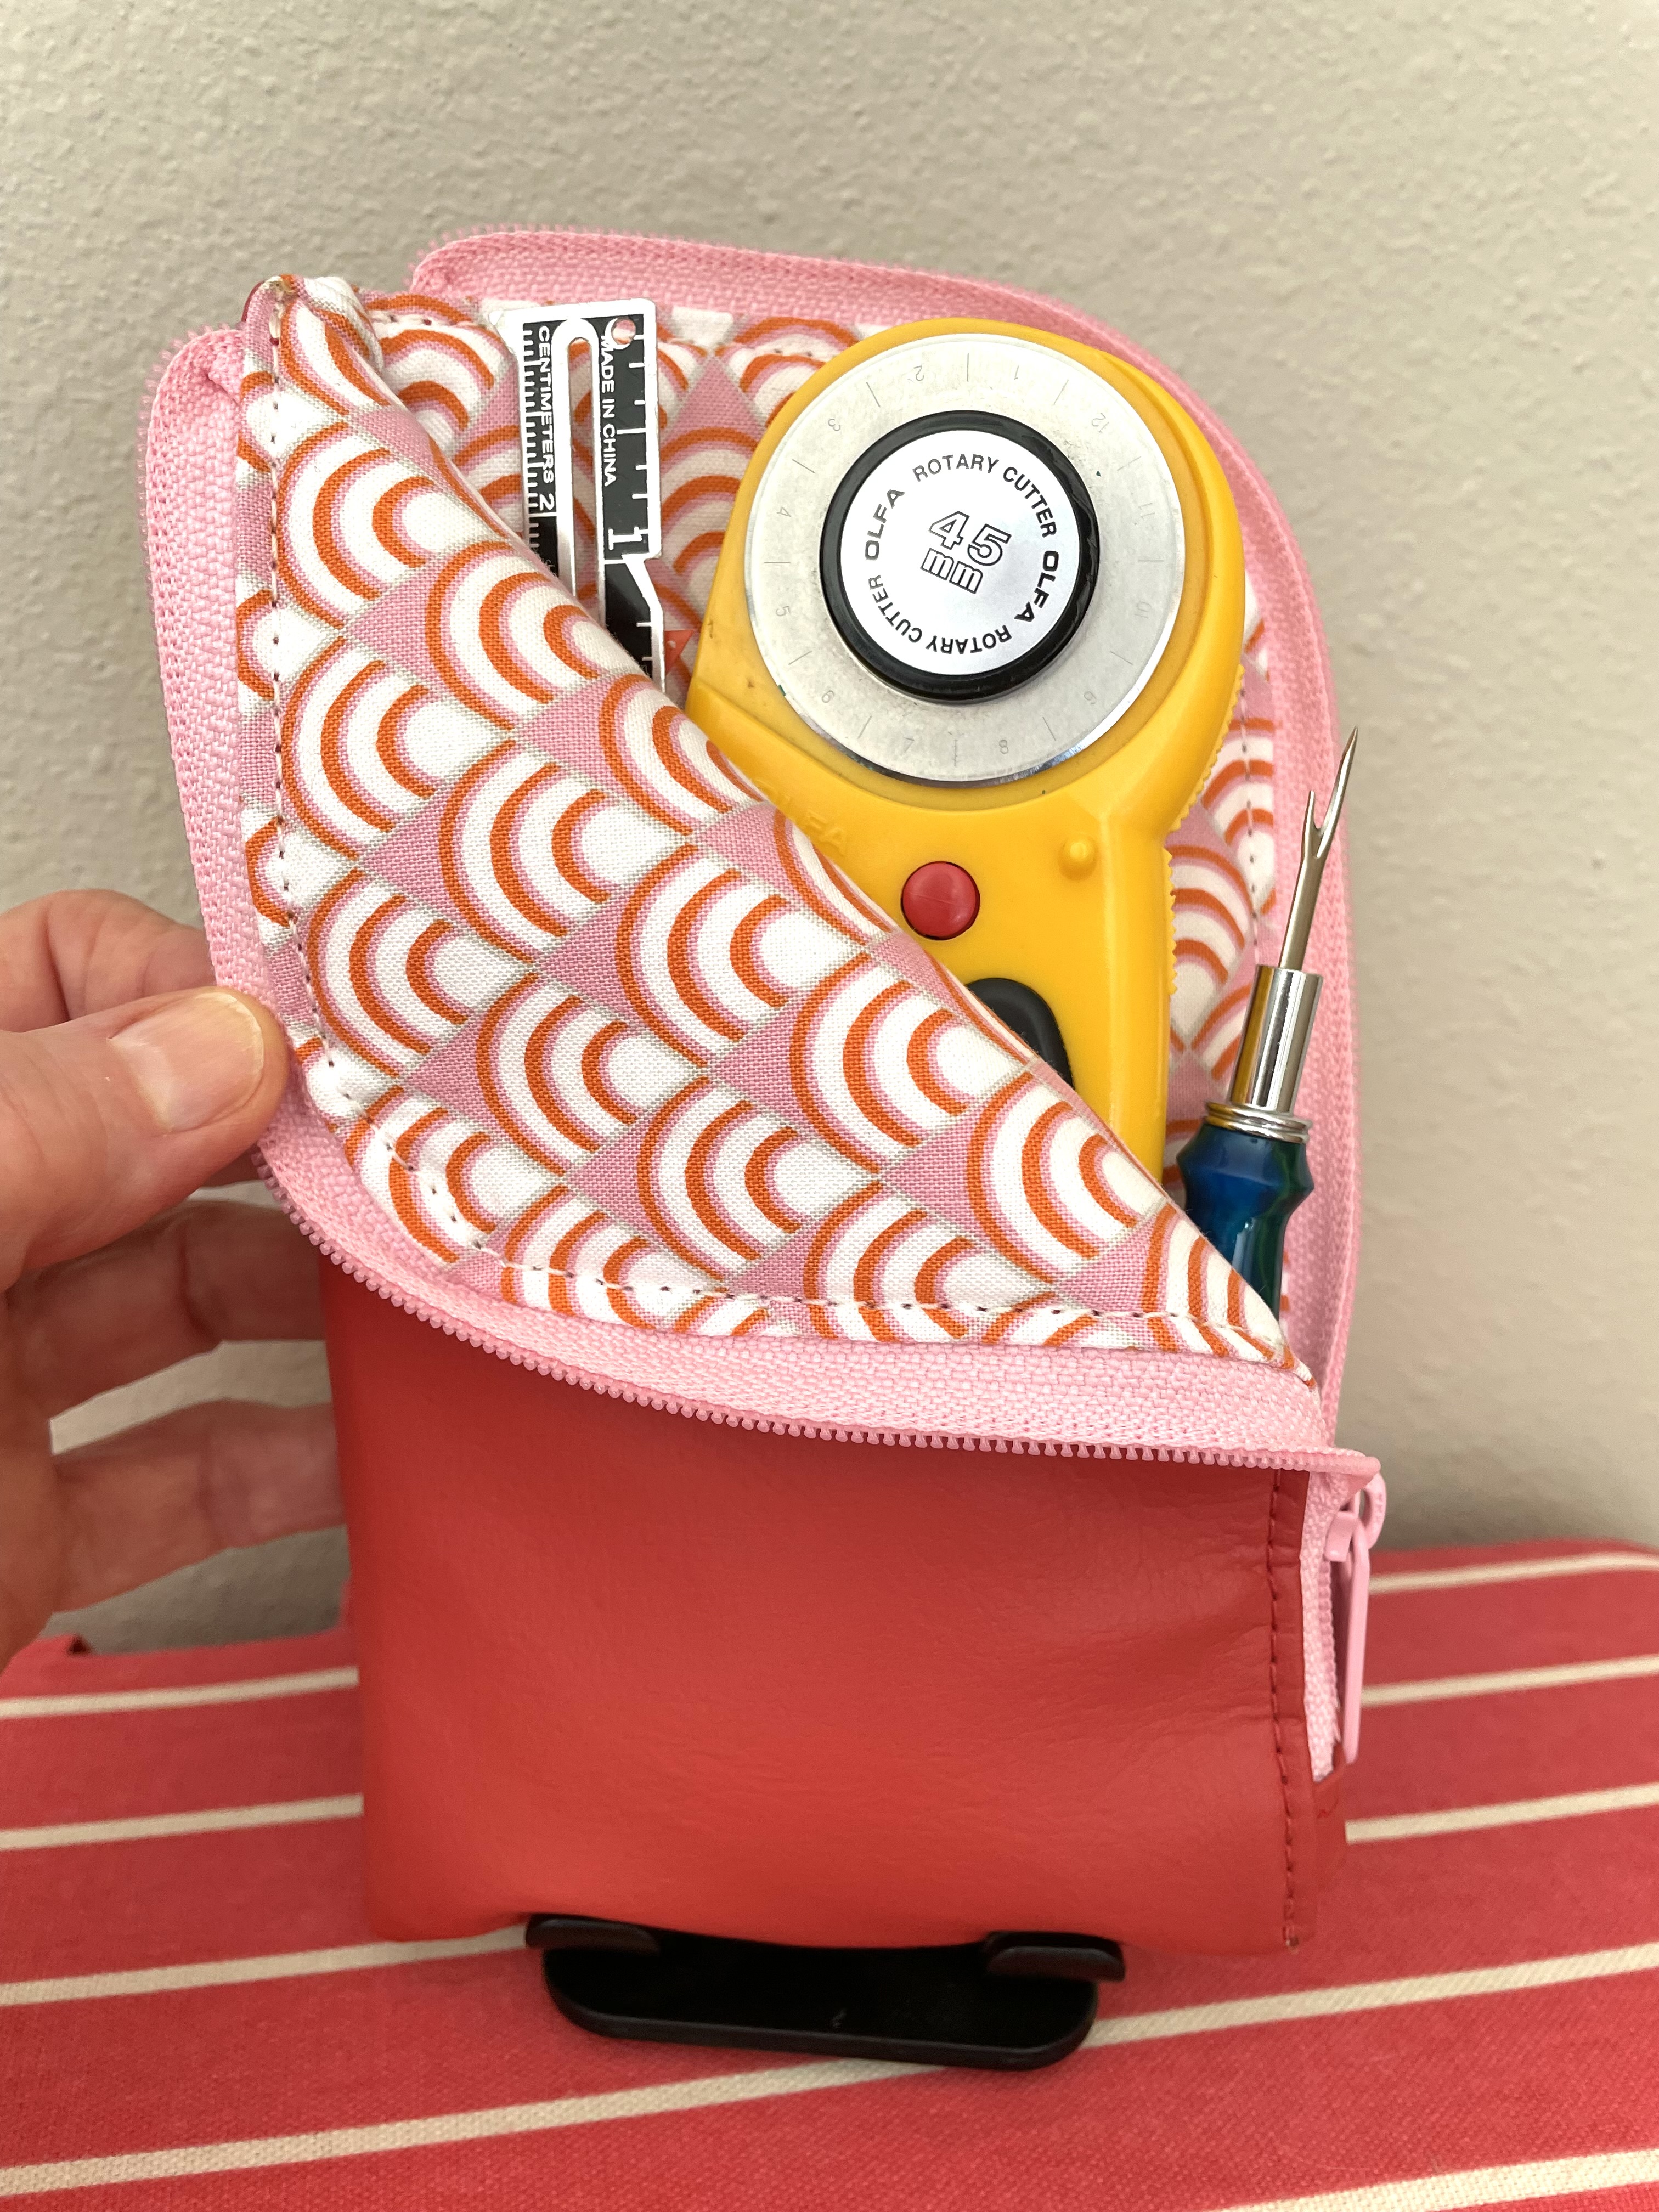
Below is a look at it loaded up inside.

I love it, and it went together so smoothly! I used some charcoal cork that I had gotten from an Etsy shop (that no longer sells it) a few years ago. It doesn’t take much, so it’s a great scrap buster!
That was my practice wallet. Jess, who is a long-time user of one of my original Get Carded wallets, decided she could use an upgrade, so I made another one in her choice of colors. For this one I used magnetic snap rivets instead of the hidden magnets. They give the wallet a little snugger closure.
So here’s Jess’s wallet. I just love the wine color of this cork, which I got from that same Etsy shop.


Comparing the two:


I painted the raw edges, which gives them a more finished look (and because I think it’s fun to do!). In these comparison photos, you can see that the hidden magnets (bottom pic) lie a little flatter and make for a slimmer folded wallet. Either style works well, though.

So there you have it… the Raw Edge Get Carded Wallet! It’s fun to sew and makes a very nice and handy little wallet.