WARNING: Long post and lots of photos! But this is something new… for me, at least. So I want to include all the details.
Last Christmas, Jess and Alex gifted me with some real leather for bag making! Look!
Isn’t it beautiful? I love the colors! The green has a bit of a teal tint to it… right up my alley. It’s pretty firm, but no problem for my Sailrite machine to handle. The fuchsia (wow, I can never remember how to spell that word!) piece is much thinner and nicely drapey.
So I’ve had my eye out for patterns for something special to sew with either one of them. Looking through Etsy one day, I came across a pattern for a really cute waist bag that I thought would look great made out of the green leather. Best of all, it was on sale for only $3.25! I figured I couldn’t go wrong at that price, even if the pattern wasn’t so great, so I bought it.
Much to my surprise, I discovered that the pattern was meant for HAND sewing leather! And the way it was put together, it couldn’t be sewn on a machine. Hmm. I did a little researching into the process and decided I’d give it a try, just for something fun and new to do. It turns out I had quite a bit of learning to do, but thankfully there are lots of YouTube videos showing how it’s done. I watched quite a few of them.
Also, that inexpensive pattern turned out to be ONLY the pattern pieces. The instructions were given on another YouTube video. It had no words, just demonstrations of how-to. However, it was very clear and easy to follow.
The pattern pieces had marks for every stitch hole that needed to be punched. That seemed like it would be a very tedious process, so instead I ended up getting a set of these punches, so I could punch up to four holes at a time. From the videos I watched, it seemed like most people used these punches, anyway.

There was a “slight” problem with using them, though. Although they worked really well, they were 4mm apart, where the pattern marks were 5mm apart. That meant I had to be extra careful when punching so that my holes lined up right with their corresponding holes on the adjoining piece. The trickiest part was on the gusset, because it had to go around curves, and each side of the gusset attached to a different piece (front/back). I got the one side sewn on, which turned out to be a stitch off when fitting to the front. I then needed it to also be one stitch off on the other side so it would fit the back the same way. I actually counted the number of stitches on both pieces just to make sure! Fortunately they came out the same. And the ‘off’ stitches made the gusset a stitch too long, which was no problem. If it had been too short, I don’t know what I’d have done!
Besides those stitch holes, I had other holes to make. Thankfully I’d bought a set of lots of different shapes of punches a couple years or so ago, and I had just what I needed. Here’s one of them, and the crisp, clean hole it made in my belt:
With all the raw edges of leather that would be visible, I needed to finish them somehow. I considered edge painting them black, but the inner color was such a pretty teal. I decided to just seal them with several coats of clear edge finish and let that teal show through.
My stove made a good place to lay the pieces as their edges dried.
The inside of the leather seemed kind of “fuzzy”, and I could’ve just left it raw, but I decided to try that edge coating on all the insides, too. It went on quickly and easily, just spreading it with my finger, and I was pleased with how it turned out. It sealed down the fuzziness and made it much smoother.
The first part of the actual sewing was also the hardest - stitching the zipper in place. My holes looked a little messy around the curves, but that got covered up by the thread. The hard part was sewing through the zipper tape. It didn’t work to punch holes, so I had to push a blunt needle (hand sewing leather needles are intentionally blunt) through that tape. It was a workout for these old hands!
I did it! They weren’t perfect stitches, but I was okay with them, considering it was my first-ever hand sewing job.
Then I sewed that pocket onto the front of the bag. That was kind of a breeze compared to doing the zipper. Alas, then I remembered I had a second, even longer, zipper to sew into the gusset! Yes, it was just as much of a challenge. But again, I made it. Needless to say, the zippers took a long time.
If you know nothing about hand sewing leather, as I did, I’ll just briefly say that you use one long piece of thread with a needled knotted onto each end, then you go back and forth through the holes, switching needles back and forth. I enjoyed it, once I finished the zippers. It’s pretty slow going (like a good pace for me was 2 stitches per minute), but it’s rather relaxing.
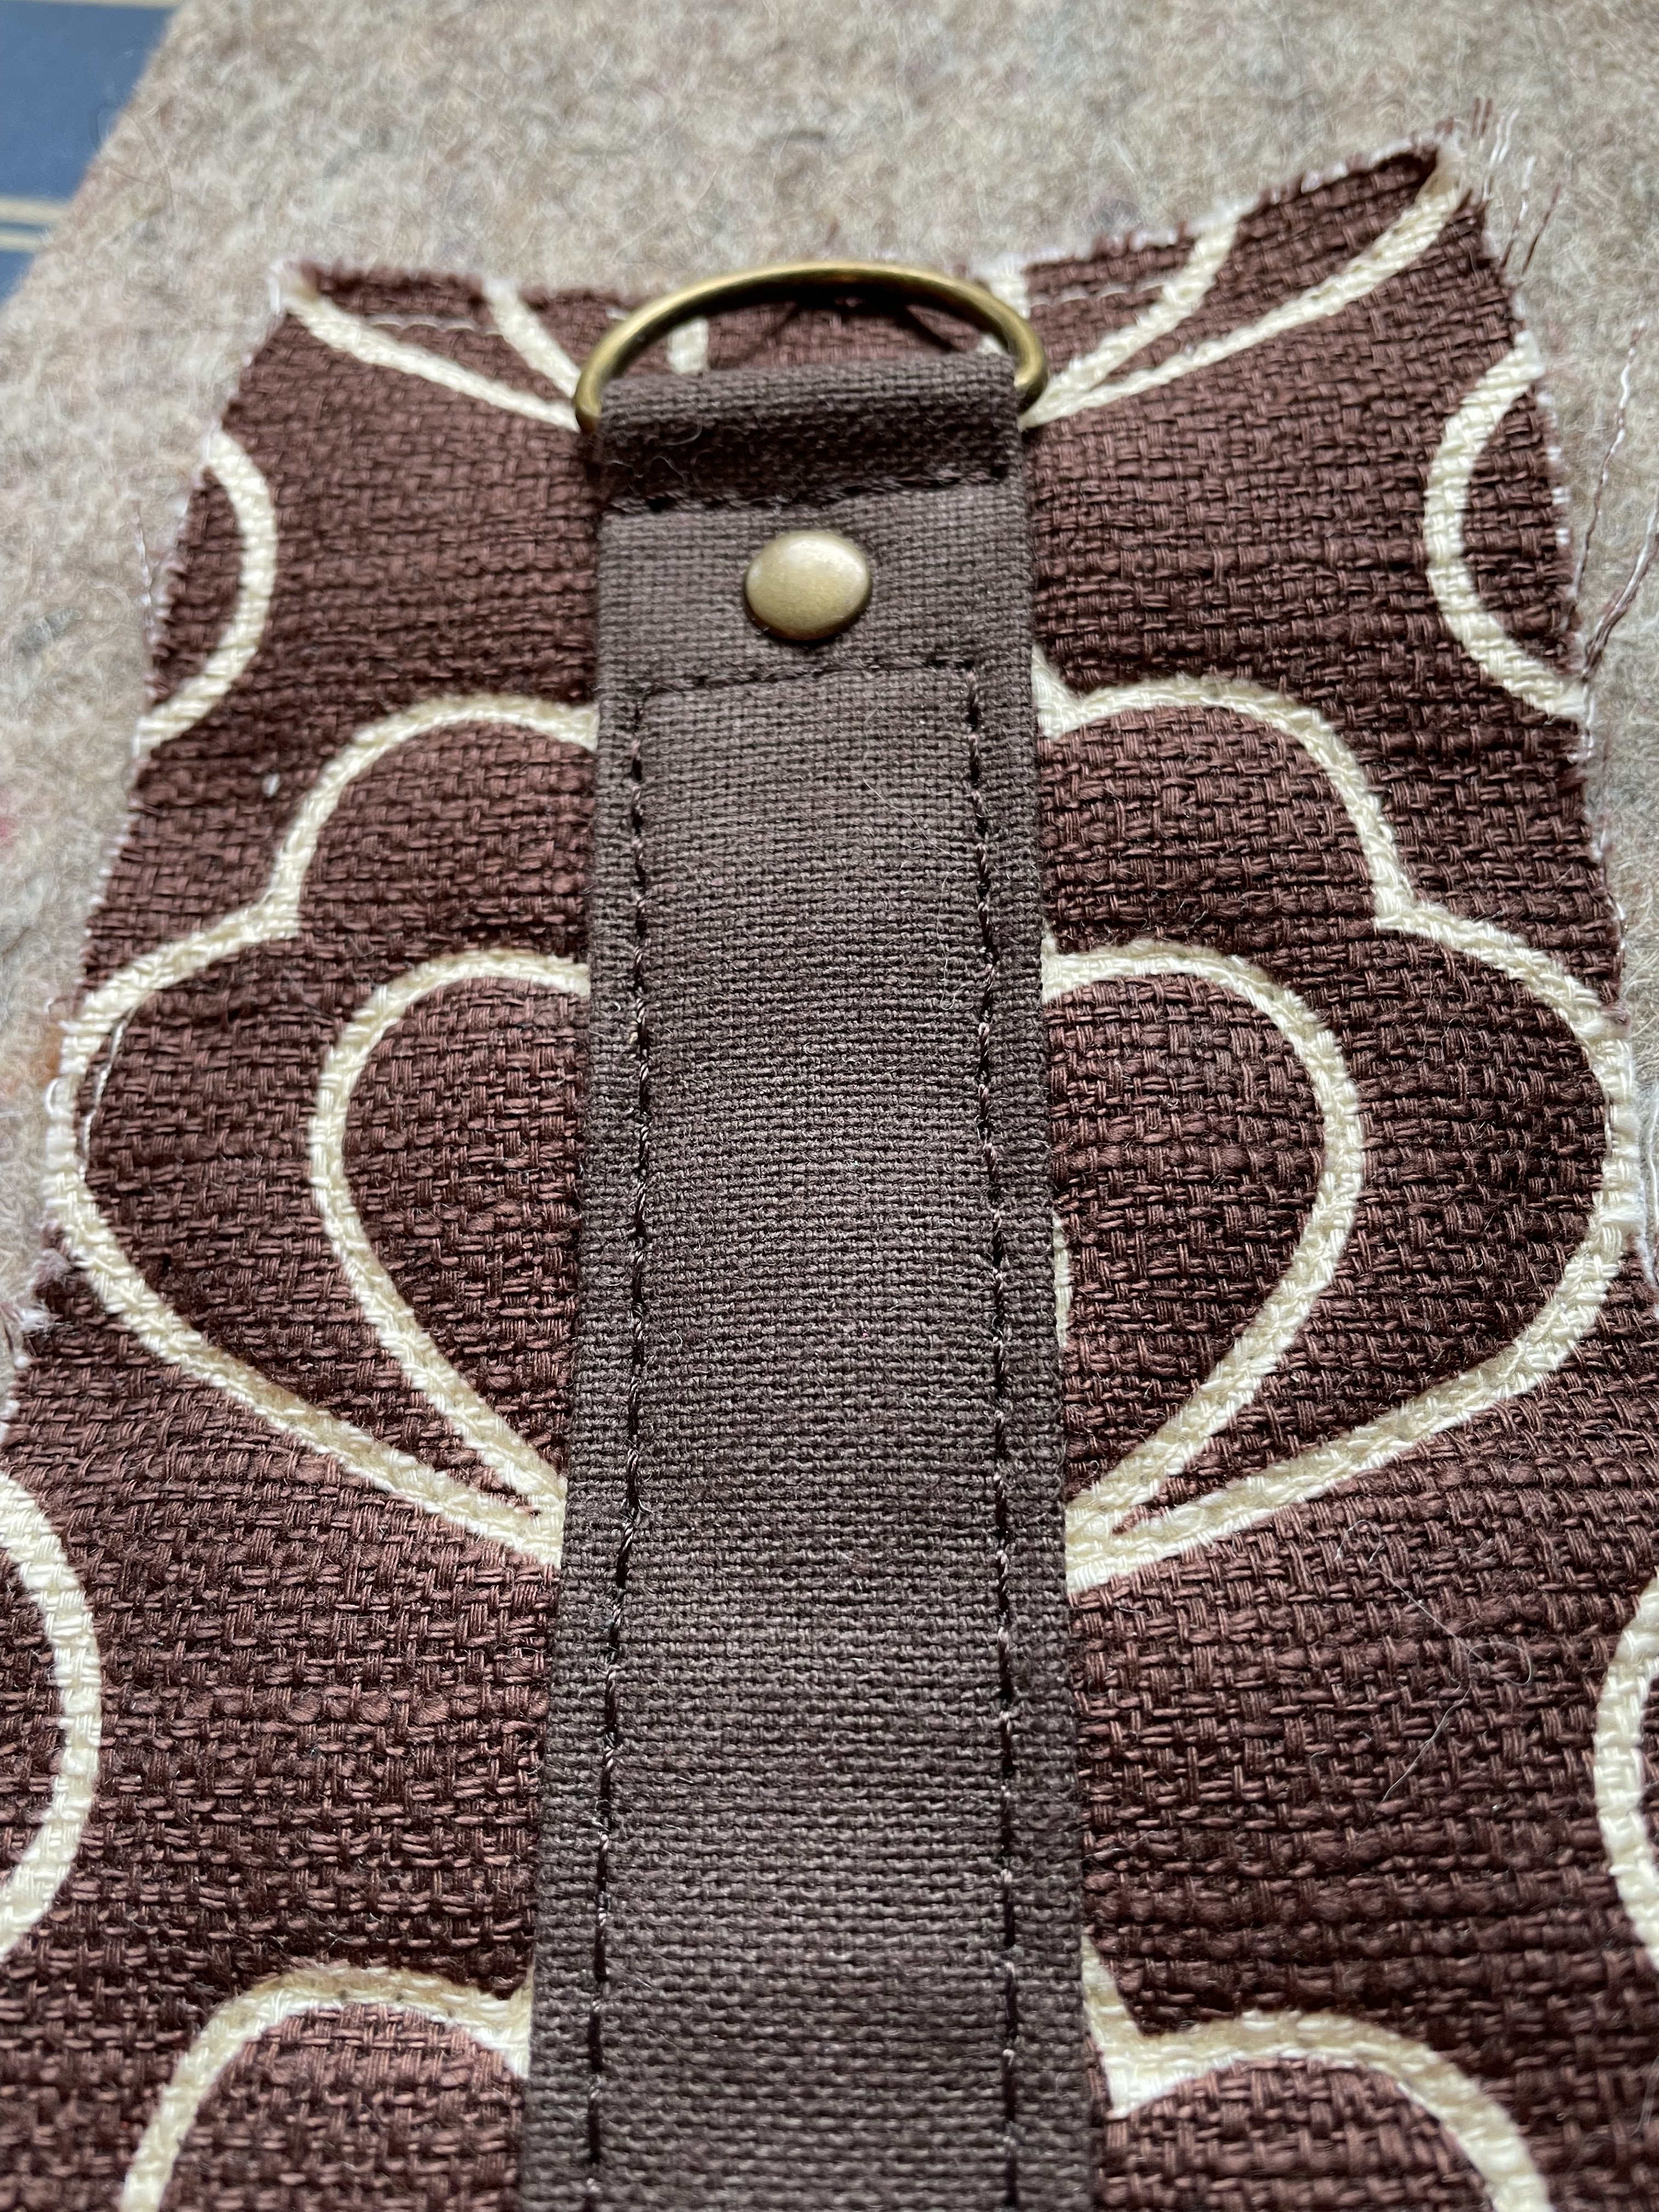
I had to be careful attaching my D-ring tabs to the back. They are two layers, and the holes of course had to match with holes on the back piece. So I glued the tabs together, punched the holes in them, then lined them up and held them on with double sided tape so they couldn’t slide, and punched through their holes and through the back piece. It wasn’t as bad as I thought it was going to be!
So here’s the finished bag, the Leather Double Zipper Waist Bag.
It has a belt to hold it on your waist.
Here’s how it looks on me:
After finishing it, I thought the zipper pulls need something to make them a little easier to grab ahold of. None of the little leather pulls I had on hand seemed right, but I used them as inspiration to make my own out of matching leather.
The rivets I used to hold them together were some rhinestone ones I had recently gotten (on a whim, to bring my order total high enough to get free shipping). They were perfect!
My bag is far from perfect, but I’m still very pleased with it. I’d very happily hand sew another bag sometime, as I really enjoyed learning something new and going through the process. Of course that process was a slow one, taking a couple of months or so. But that’s the beauty of being retired… I can take as long as I want!
Besides the punch set, I also had to purchase some waxed thread to sew with and of course the hand sewing needles. Everything else I had on hand, so not much extra expense. Oh, and the $3.25 pattern! It’s still on sale until May 24th (but at $3.85 now… still a great price), and it can be found
here. He has lots of other bag patterns that tempt me, too! Someday…….