Showing posts with label fabric. Show all posts

Tuesday, June 3, 2025

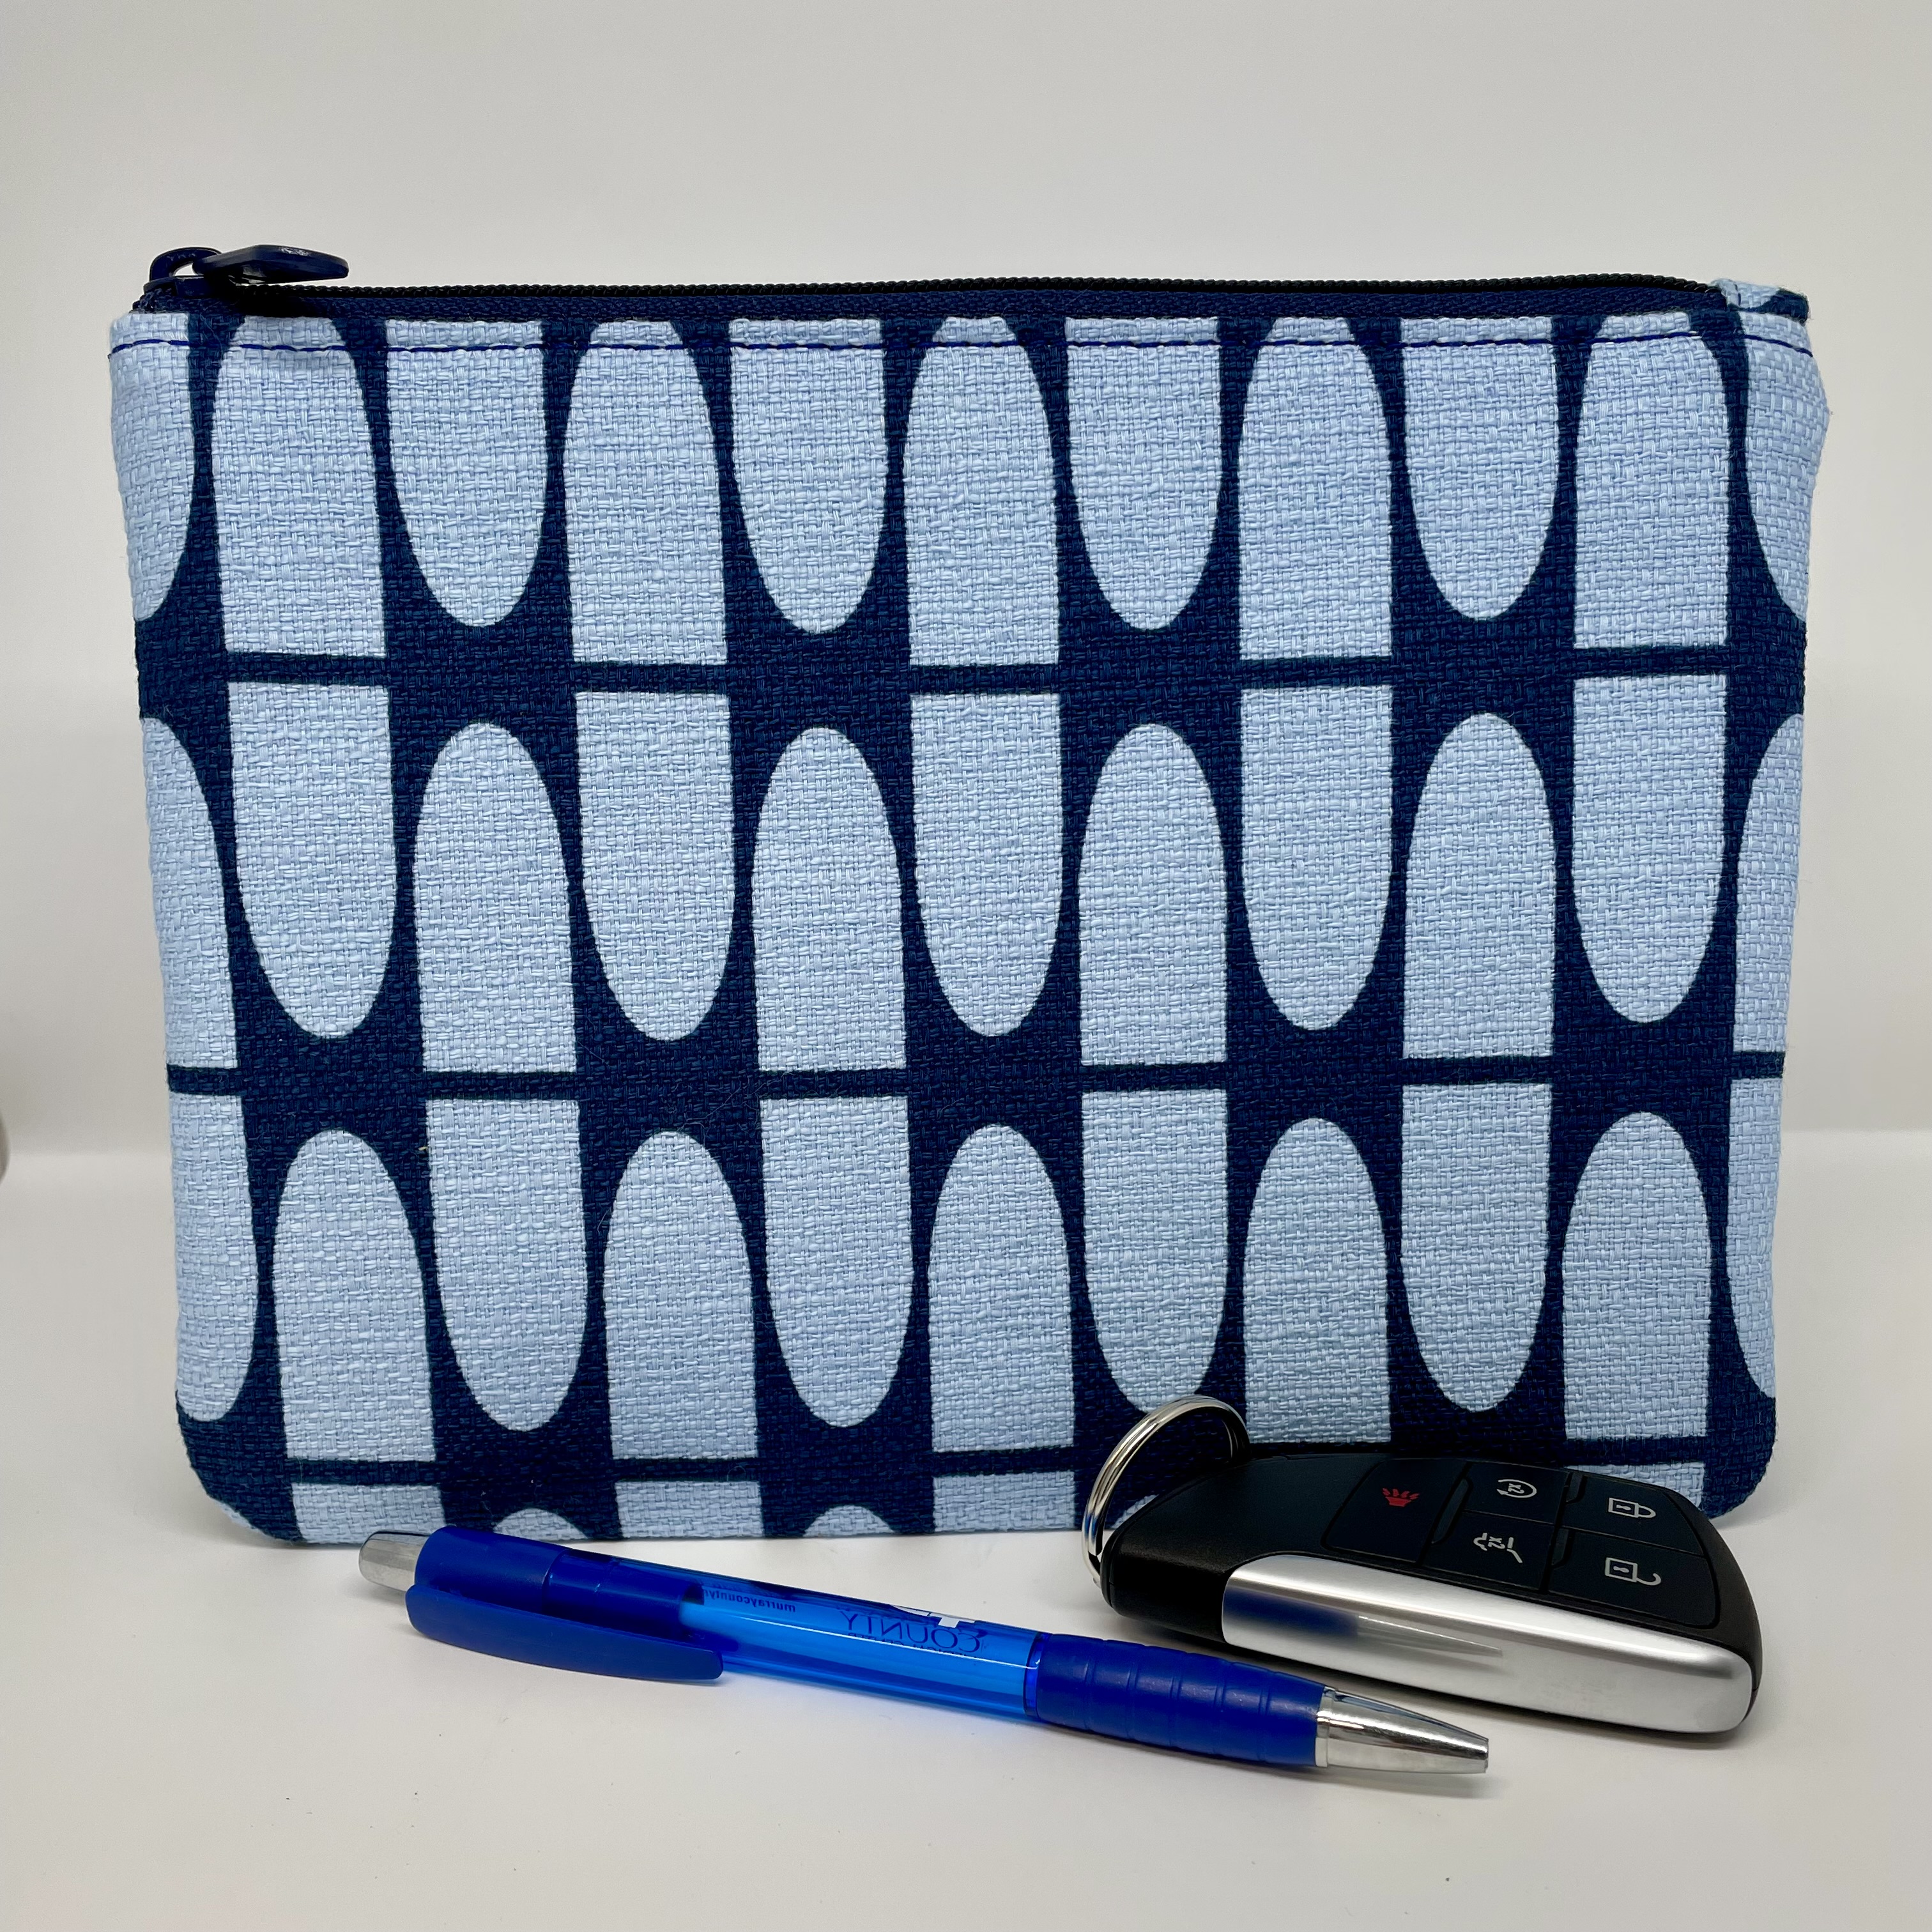
Heartfelt Haven Pouch

Hmm… I seem to be getting further behind, rather than catching up. In other words, I’m doing more sewing than blogging. Well, here’s a quick one… another Christmas gift. (Shhh… I know it’s already June!)

This is the Heartfelt Haven Pouch by ChrisW Designs. It was fairly quick and easy to make, and the best part is that it was a free pattern! Who doesn’t love free?!


It’s a rather unique pouch in that it actually has three pockets under one zipper!


You’ll probably recognize the fabric I used for the exterior, which is barkcloth that Jess designed a few years ago. I still love that barkcloth texture!


That’s it for this post! You’re welcome. ;)


Thursday, April 3, 2025

Rae Dual Zip Crossbody bag

Wellllll… I seem to be farther behind than I thought I was. Would you believe I made this bag last June?! BUT, the reason I didn’t show you right after I completed it (not procrastination this time) was that it had to remain a secret. Until OCTOBER! It was a pattern test for Linds Handmade Designs, and it was for her first-ever pattern for the Bag of the Month Club, which was pretty exciting! If you’re not familiar with the BOMC, it’s a subscription where there are three (sometimes four) different designers’ patterns released monthly, one at a time. You buy them all at a discounted price, not knowing what they are until the month they’re released to subscribers, and they can only be gotten through the subscription (until they’re released 3 months after their subscription month). Linds was the last designer in that subscription, so her pattern was for the month of October, but it still had to be completed and approved before the subscription started in August. I was excited to be able to test and get to know ahead of time what one of the BOMC patterns was! 

Here’s my tester version of Linds’ Rae Dual Zip Crossbody bag:


The pattern was a bit of a challenge, thus not listed as a beginner pattern. The most challenging part for me was sewing the curves on the outer front and back, because there was some thickness there. But the pattern had lots of tips for getting it right, and it was totally doable.

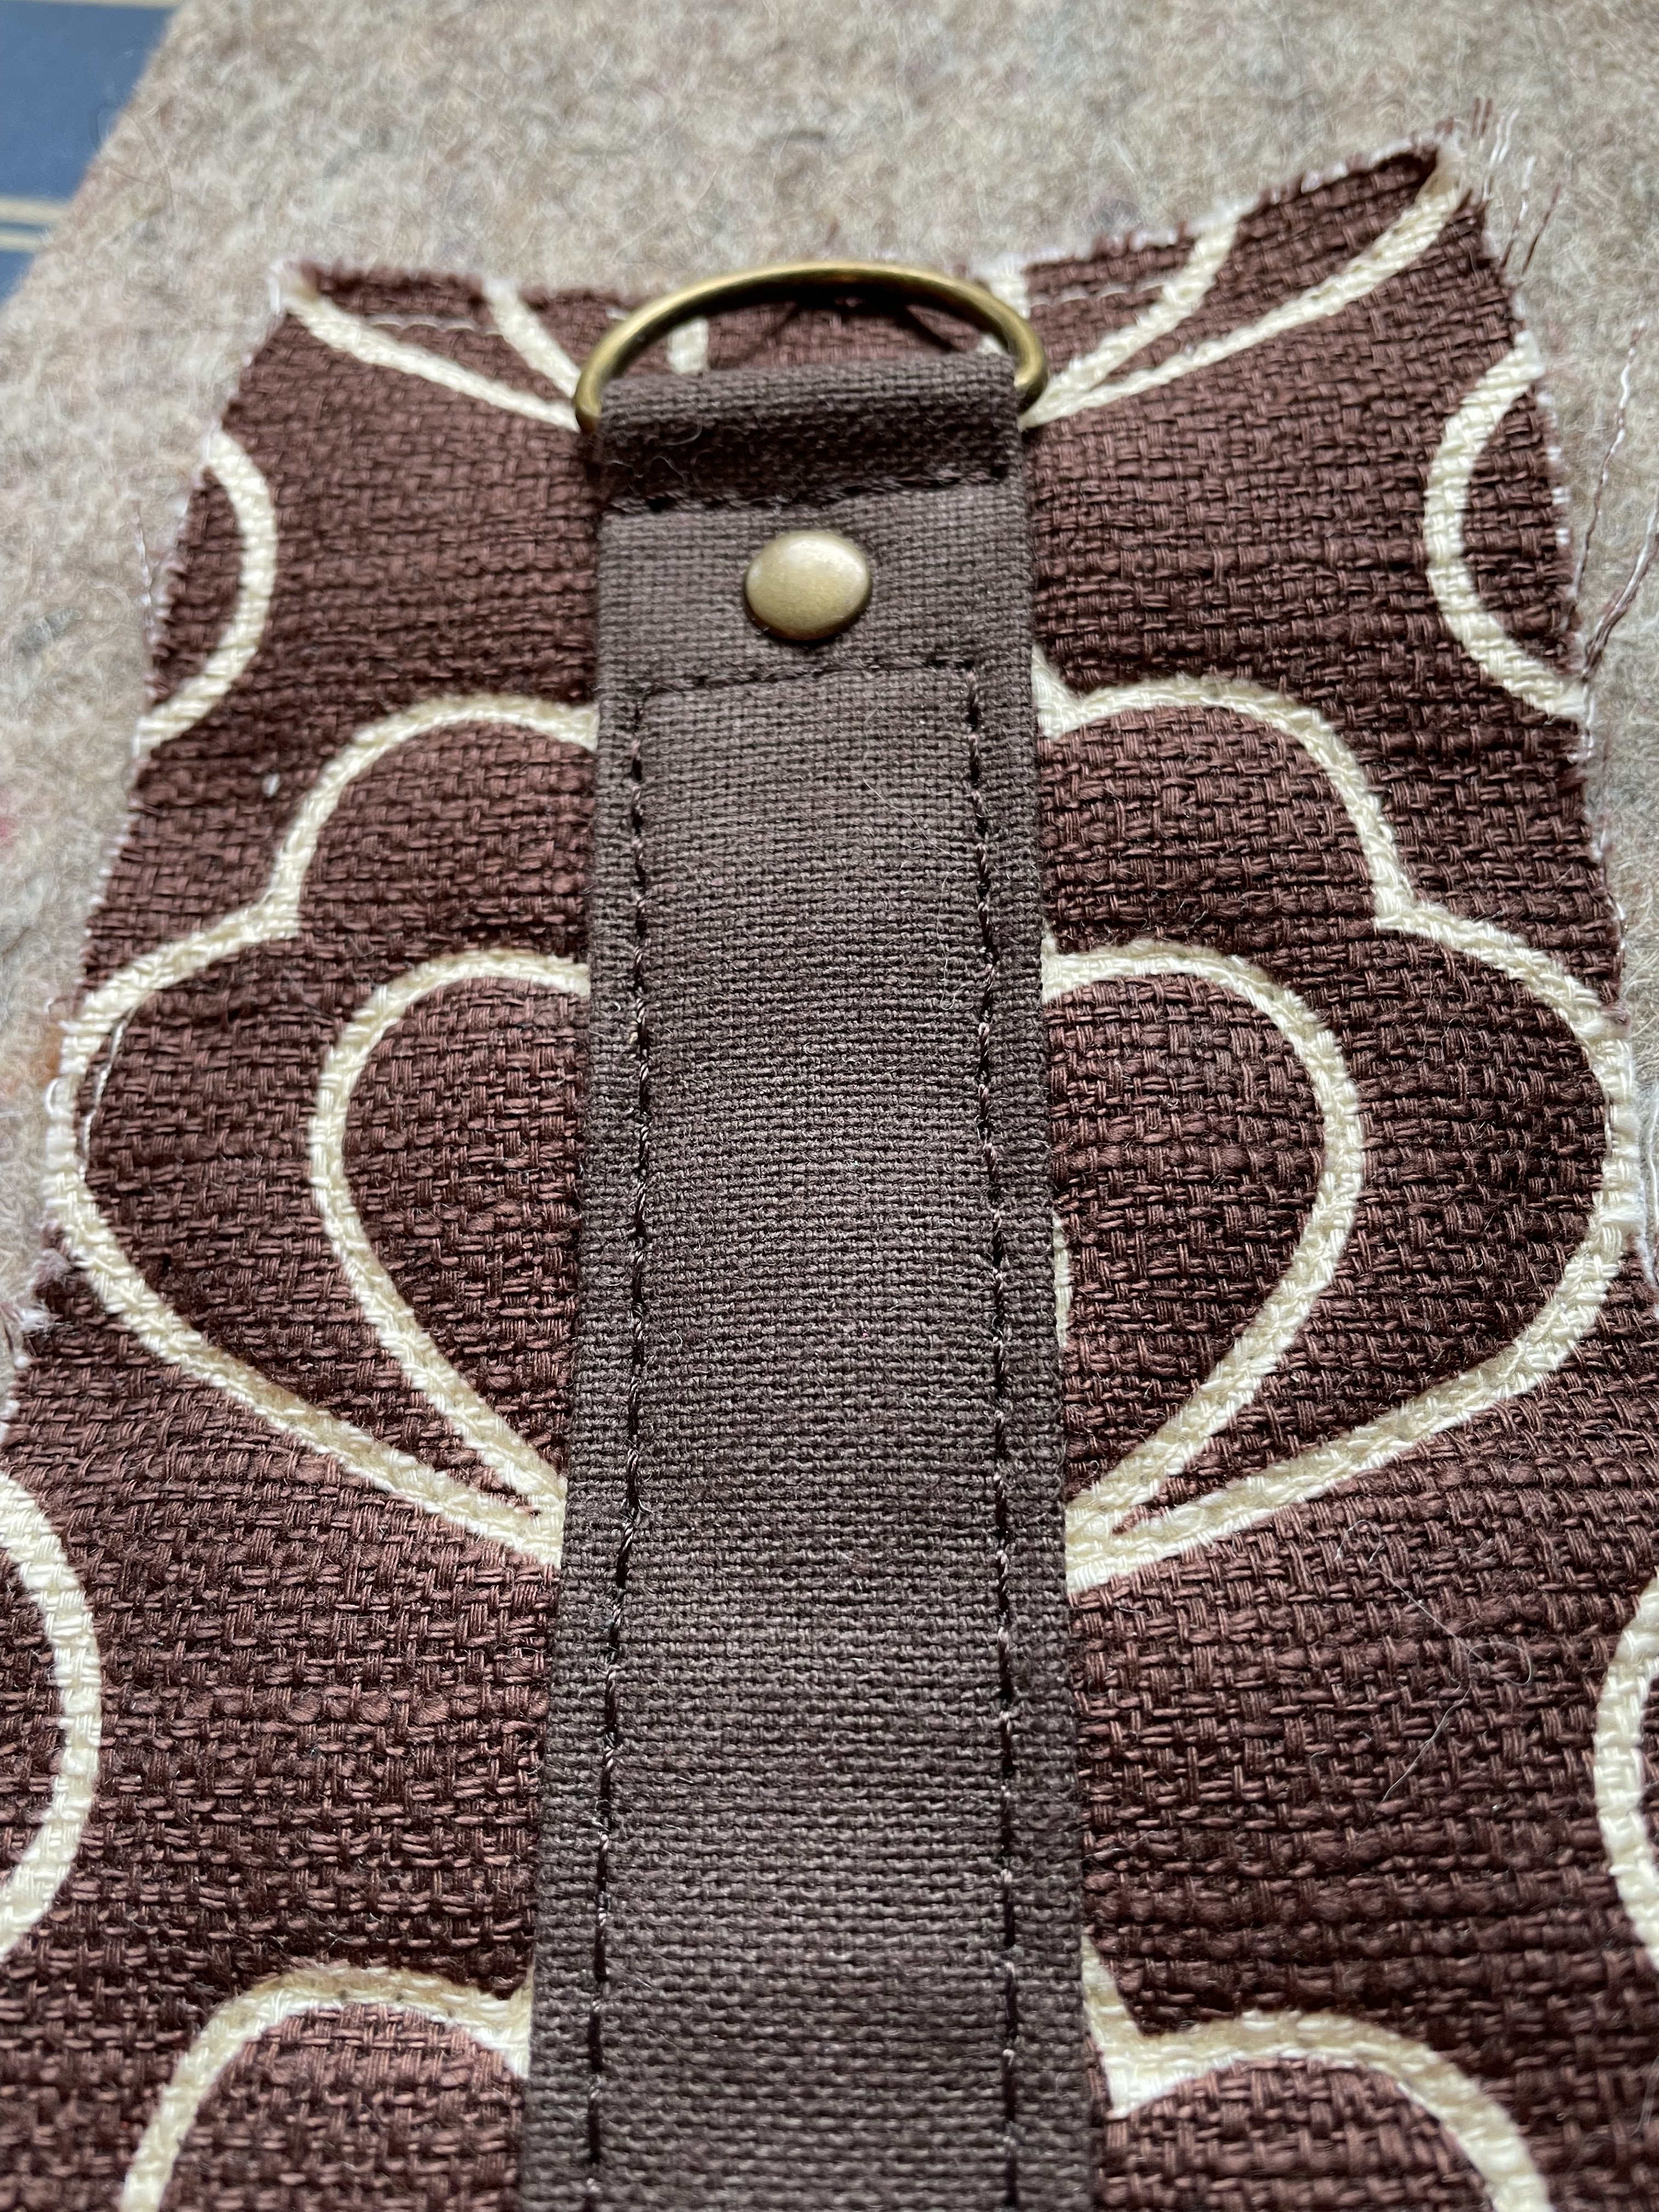
The fabric I used for the exterior was one of Jess’s barkcloth designs from a few years ago. In my usual fashion, I had to do some fussy cutting and print matching. It nearly blew my mind thinking how to get it just right, but I was successful!


Underneath that flap on the front of the bag is a hidden zipper pocket.


The bag is divided into two compartments, each with its own zipper. It also kind of blows my mind wondering how Linds figured out how to design such a bag, much less write a pattern explaining how to make it! My mind sure doesn’t work like hers does! Ha!


Inside one of the compartments is another zippered pocket. (I remembered to add my label - yay!) The inner seams are bound, but not to be feared… they’re done in a very easy, no-fail way, and they turn out looking great!


This is a very nice size bag, and I love it! 


Here are just a few progress photos I took along the way.


Yep, it was work putting it together, but so worth it!

That subscription is over and the pattern is now released for anyone to buy, so if you’re an experienced sewer or even an adventurous beginner and want to give it a try, you can purchase it here. The pattern includes a very helpful video tutorial, SVG files, and even projector files.

Hopefully I’ll be back soon, because I have some Christmas sewing and another pattern test to show you!

P.S. If you have a little one to buy an Easter gift for, or just want something cute to decorate for Easter with yourself, Courtney has some adorable chicks listed in her Etsy shop now!


Sunday, September 8, 2024

Cross My Body Bag

I guess I’d better quit procrastinating on finishing this post (I uploaded the photos over a week ago), since I already have another project completed. I definitely enjoy the sewing more than I do fighting with Blogger and writing about it. Ha.

This is the Cross My Body Bag from the pattern by ChrisW Designs. It’s the first pattern of hers that I’ve sewn, and it was great; well-written and easy to follow.


The pattern called for quilting the exterior fabric to foam. Now, any of you who know me know I’m not a quilter. I’ve quilted a few pieces before, but mainly as parts of a bag. I really didn’t want to do just straight-line designs, and I know I’d make a mess of free motion quilting, so after thinking a bit and remembering my Catch All Caddy, I decided I could quilt on the designs that were already on the fabric. BUT, the question was would I go nuts doing all that on the fabric I’d chosen from Jess’s barkcloth collection.

So I started with just a gusset piece, which wasn’t very big. It went okay, so then I did the other one. Before I knew it, I’d done all the pieces and found it not to be that bad a job. It went faster as I got a sort of rhythm to it. I was quite pleased with how the quilting looked.


Here’s a nice view with the light showing off the quilting:


I wanted a sturdier fabric for the bottom of the bag, so I chose a solid canvas. I couldn’t figure out how to easily transfer the same design as the rest of the bag, so I just made up my own design. I appreciated the curved rulers I’d bought awhile back in creating this design.


For most of the sewing I used my old Kenmore machine, but the Sailrite LSZ-1 did all the topstitching, beautifully, as always.


The main reason I chose this pattern was that it had a recessed zipper at the top that was closed at both ends. If you’re familiar with recessed zippers, they usually have an open space at either end of the zipper, and if your bag happened to tip over, things could spill out. So I wanted to learn how this new technique was done.


It really wasn’t hard to do, and I like the security it gives the bag. Because of the thicker fabrics I used (lining is waterproof canvas), I wasn’t able to topstitch all the way around the ends at the top edge of the bag, so I stitched as far as I could and then added a couple of rivets at each end. That worked out well.


Here are a few more progress photos. There’s a zipper pocket inside.


Here’s a bit of a view of the backside of the quilting, plus the padded phone pocket that’s on the exterior back:


The interior and exterior were sewn together and then turned through a pocket.


A lot of sewers like to staple a lot of their more challenging seams together to hold them until sewn. I haven’t really liked doing this and prefer to baste them by machine, but these thick ends made it too hard to do without the fabric slipping, so I gave up and stapled them, which helped a ton. Of course then the staples had to be removed after sewing the seam.


In one of my sewing groups, this stapler puller was recommended. It’s one slick little tool, and I love it! It works like a charm, and it’s also magnetized so the staples stay right there instead of flying all over. I got mine from Amazon. It of course works with paper and everything else you might put staples into.


Here are a few more photos (tap on pic to enlarge). There’s a hidden zipper pocket on the front of the bag behind that accent piece, and there’s the padded phone slip pocket that I previously mentioned on the back.


It’s a nice size that will hold a lot of stuff.


The one thing I notice about this type of zipper opening is that it limits your access to the bag, where the other type of recessed zippers allows for a much wider opening. Just something to keep in mind if you consider making this bag… so it’s easy access vs security.

Like I said, I have another project completed. I just need to get a modeling photo before can post. So I’ll be back… sometime.


Monday, July 17, 2023

Vintage Simplicity 8146

How about a short and sweet post for a change? This is my final (for now, at least) project from Jess’s latest modal rayon designs that she did for Cloud9 Fabrics. This is the Magic Touch print from her Orderly Fashion line.


The pattern I used was vintage Simplicity 8146. It has an elastic waist and not really a lot of fitting to it.


She wanted an above-the-knee length with no ruffle. Easy. So the only adjustment was the usual 2” added to the bodice to accommodate her long torso. Here we have it!


The only real detail was the opening at the top of the back, which fastened with an elastic loop (think hair elastic) and a cute little button that happened to be perfect for that print.


That back detail turned out to be the hardest part of the pattern, and actually it could’ve been omitted because Jess said she didn’t need to use it to get into the dress. 🙄 But it’s worth it for the cuteness factor, plus she’ll never have a problem determining the front from the back. Ha! 

She loves the dress, it fit perfectly, and to quote her, “It’s so comfy and breezy to wear!” Yes, that modal rayon is a great fabric for summer. I love the dress, too - it’s my favorite outfit that I’ve made from these fabrics.

I’m caught up blogging my sewing completions now. I have a bag project in the works, but I think my brain has lost some of its bag construction thinking. I’ve made the dumbest mistakes ever since I started it! Nothing that wasn’t correctable, thankfully… just gave my seam ripper a good workout. That’s what they’re for, right?

Wednesday, July 5, 2023

Bonnie Woven Top #2 with Fumeterre Skirt #3

When I made the first Bonnie Woven Top that I showed you here, I mentioned that Jess said it was wearable but was just a bit small across the back and the armholes were also slightly small. We had plans for me to make another one out of a different print from her Orderly Fashion line of rayon, so I enlisted some help from a friend who drafts her own patterns, since I could only guess on how to do it myself. She KNEW, and she was gracious enough to tell me how to alter the pattern for a better fit. So here’s the second Bonnie Woven Top in the Day Shift design.


The first top I made was flared a little at the bottom, and Jess thought it’d be better if it had straight sides for wearing with a matching skirt. That part was easy.


BTW, that print match-up in the back was totally accidental! I love when that happens!

Here’s my third Fumeterre Skirt. If you recall, I made two of them last summer, which you can see here.


This one is shorter, otherwise the same as the tiger one. I like that pattern, as it goes together so nicely. It’s a lot of sewing and seam finishing, because there are eight panels, but it’s easy. I was quite pleased with the zipper installation.


Below is the photo I took at home before mailing it to Jess.


Then it was quite a long wait to get photos from her. Unfortunately, she and Alex both got covid - UGH! So of course Jess didn’t feel much like modeling. They didn’t get terribly sick, thankfully, and they’re well again now. Here she is, modeling the outfit which turned out to be a perfect fit - yay!!
 

In the pic below you can see that there’s just enough room in that armhole.


Now that I have the pattern adjusted to fit, I’d gladly make the top again, as it goes together easily (thanks to the StyleARC update mentioned in that earlier post).

So that’s done… AND so is the next project in Orderly Fashion! It’s on its way to Jess right now, so hopefully I can show it to you before too long. 

Now I’m really feeling like making another bag. My new machine has been sitting pretty idle during all this rayon sewing, and it needs a workout! I already have a pattern and fabrics chosen. :)

Tuesday, May 23, 2023

Bonnie Woven Top in Orderly Fashion

A little over a month ago, I received a package containing these gorgeous goodies in the mail!


Looks like a work assignment for me, right? Right! Well, sort of. To me, it’s more fun than work. But yes, it’s a number of sewing projects, because Jess has a new line of modal rayon fabrics out that she designed for Cloud9 Fabrics.

Of course rayon fabrics mean garments, which are usually larger projects than bags, so for the first time I needed to flip up the other leaf on my new cutting table and see how everything fit in the room. It actually worked quite well… close, but still with room to maneuver.


So, I proceeded in Orderly Fashion, which just happens to be the name of the fabric line. See the selvage?


This first fabric design that I worked on is called Nevermind. As you might (or might not) guess from looking at the pattern pieces above, the first project was a top, the Bonnie Woven Top by StyleARC.

I decided the best (and quickest) way to finish the seams and all those facing pieces was to serge them, so that’s what I did.


It was a pretty simple top to sew. However, the instructions in the pattern were minimal, which I guess StyleARC is known for. That was okay, because I’ve sewn lots of garments, and something like this should’ve been fairly easy… but the way they said to connect the back neck facing to the center back had me tearing my (also minimal) hair out, because I simply could not figure out what they meant to do! I did some googling to see if others had had problems, and sure enough, there were some frustrated sewers. Most had gone ahead and done it their own way, and the ways varied, which was visible in the photos.

I figured out what I ‘thought’ the instructions meant and did it that way, which seemed to work out okay and looked right. I also, out of curiosity, emailed StyleARC and asked them about it. I received a very helpful reply the next day, and it turns out that the pattern has an update, which they sent me the pages for. That made all the difference in the world! I wish they’d sent the update to their wholesalers right away (the pattern is several years old - not like it was something just discovered). It would’ve save a lot of frustration. Also, as it turned out, my method was not correct, making the center back fold in the wrong place. Since it was too late to redo it by then, I had to do a little “fudging” when adding the buttonholes and buttons. But it turned out okay and is not really noticeable.

So here’s the Bonnie Woven Top… front…


… and back:


Here is Jess modeling it:


It’s wearable, although the armholes are a little bit snug and it’s a tad small across the back. I’ll be making another one in a different fabric soon, and hopefully my plan for adjusting it will make for a better fit. Thats’s the trouble with having Jess live so far away. Fittings for garments aren’t very handy.

Bag making is fine, though, and when I mailed the top to Jess, I sent the Two Zip Hipster (see my previous post) along with it. She loves it, and I guess she likes the fabric/strap combo so much that… well… have a look for yourself:


Fun, right?

Part of my next project is completed, but I won’t be showing you until it’s ALL done. So I’d better get at it. By the way, all of this rayon sewing is being done on my faithful old Kenmore. My Sailrite could do it (except for the buttonholes), but it would mean a lot of tension adjusting, and I’d rather leave that machine set for heavy fabrics. I do still enjoy sewing on the Kenmore, anyway.