

Back in November, I did another pattern test for Linds Handmade Designs. (Yes, she’s a very prolific pattern writer!) She designed it as a case for those large sunglasses that don’t fit in just a regular glasses case, thus the name “Sunny Saver”.
This was a pretty quick and easy project to sew. I made my tester version out of waxed canvas for the exterior…


… and some coordinating flannel for the interior. The flannel is soft and will protect sunglasses from getting scratched. It kinda reminds one of a mini sleeping bag though, doesn’t it? Ha!

I always love the look of a nice straight zipper install!

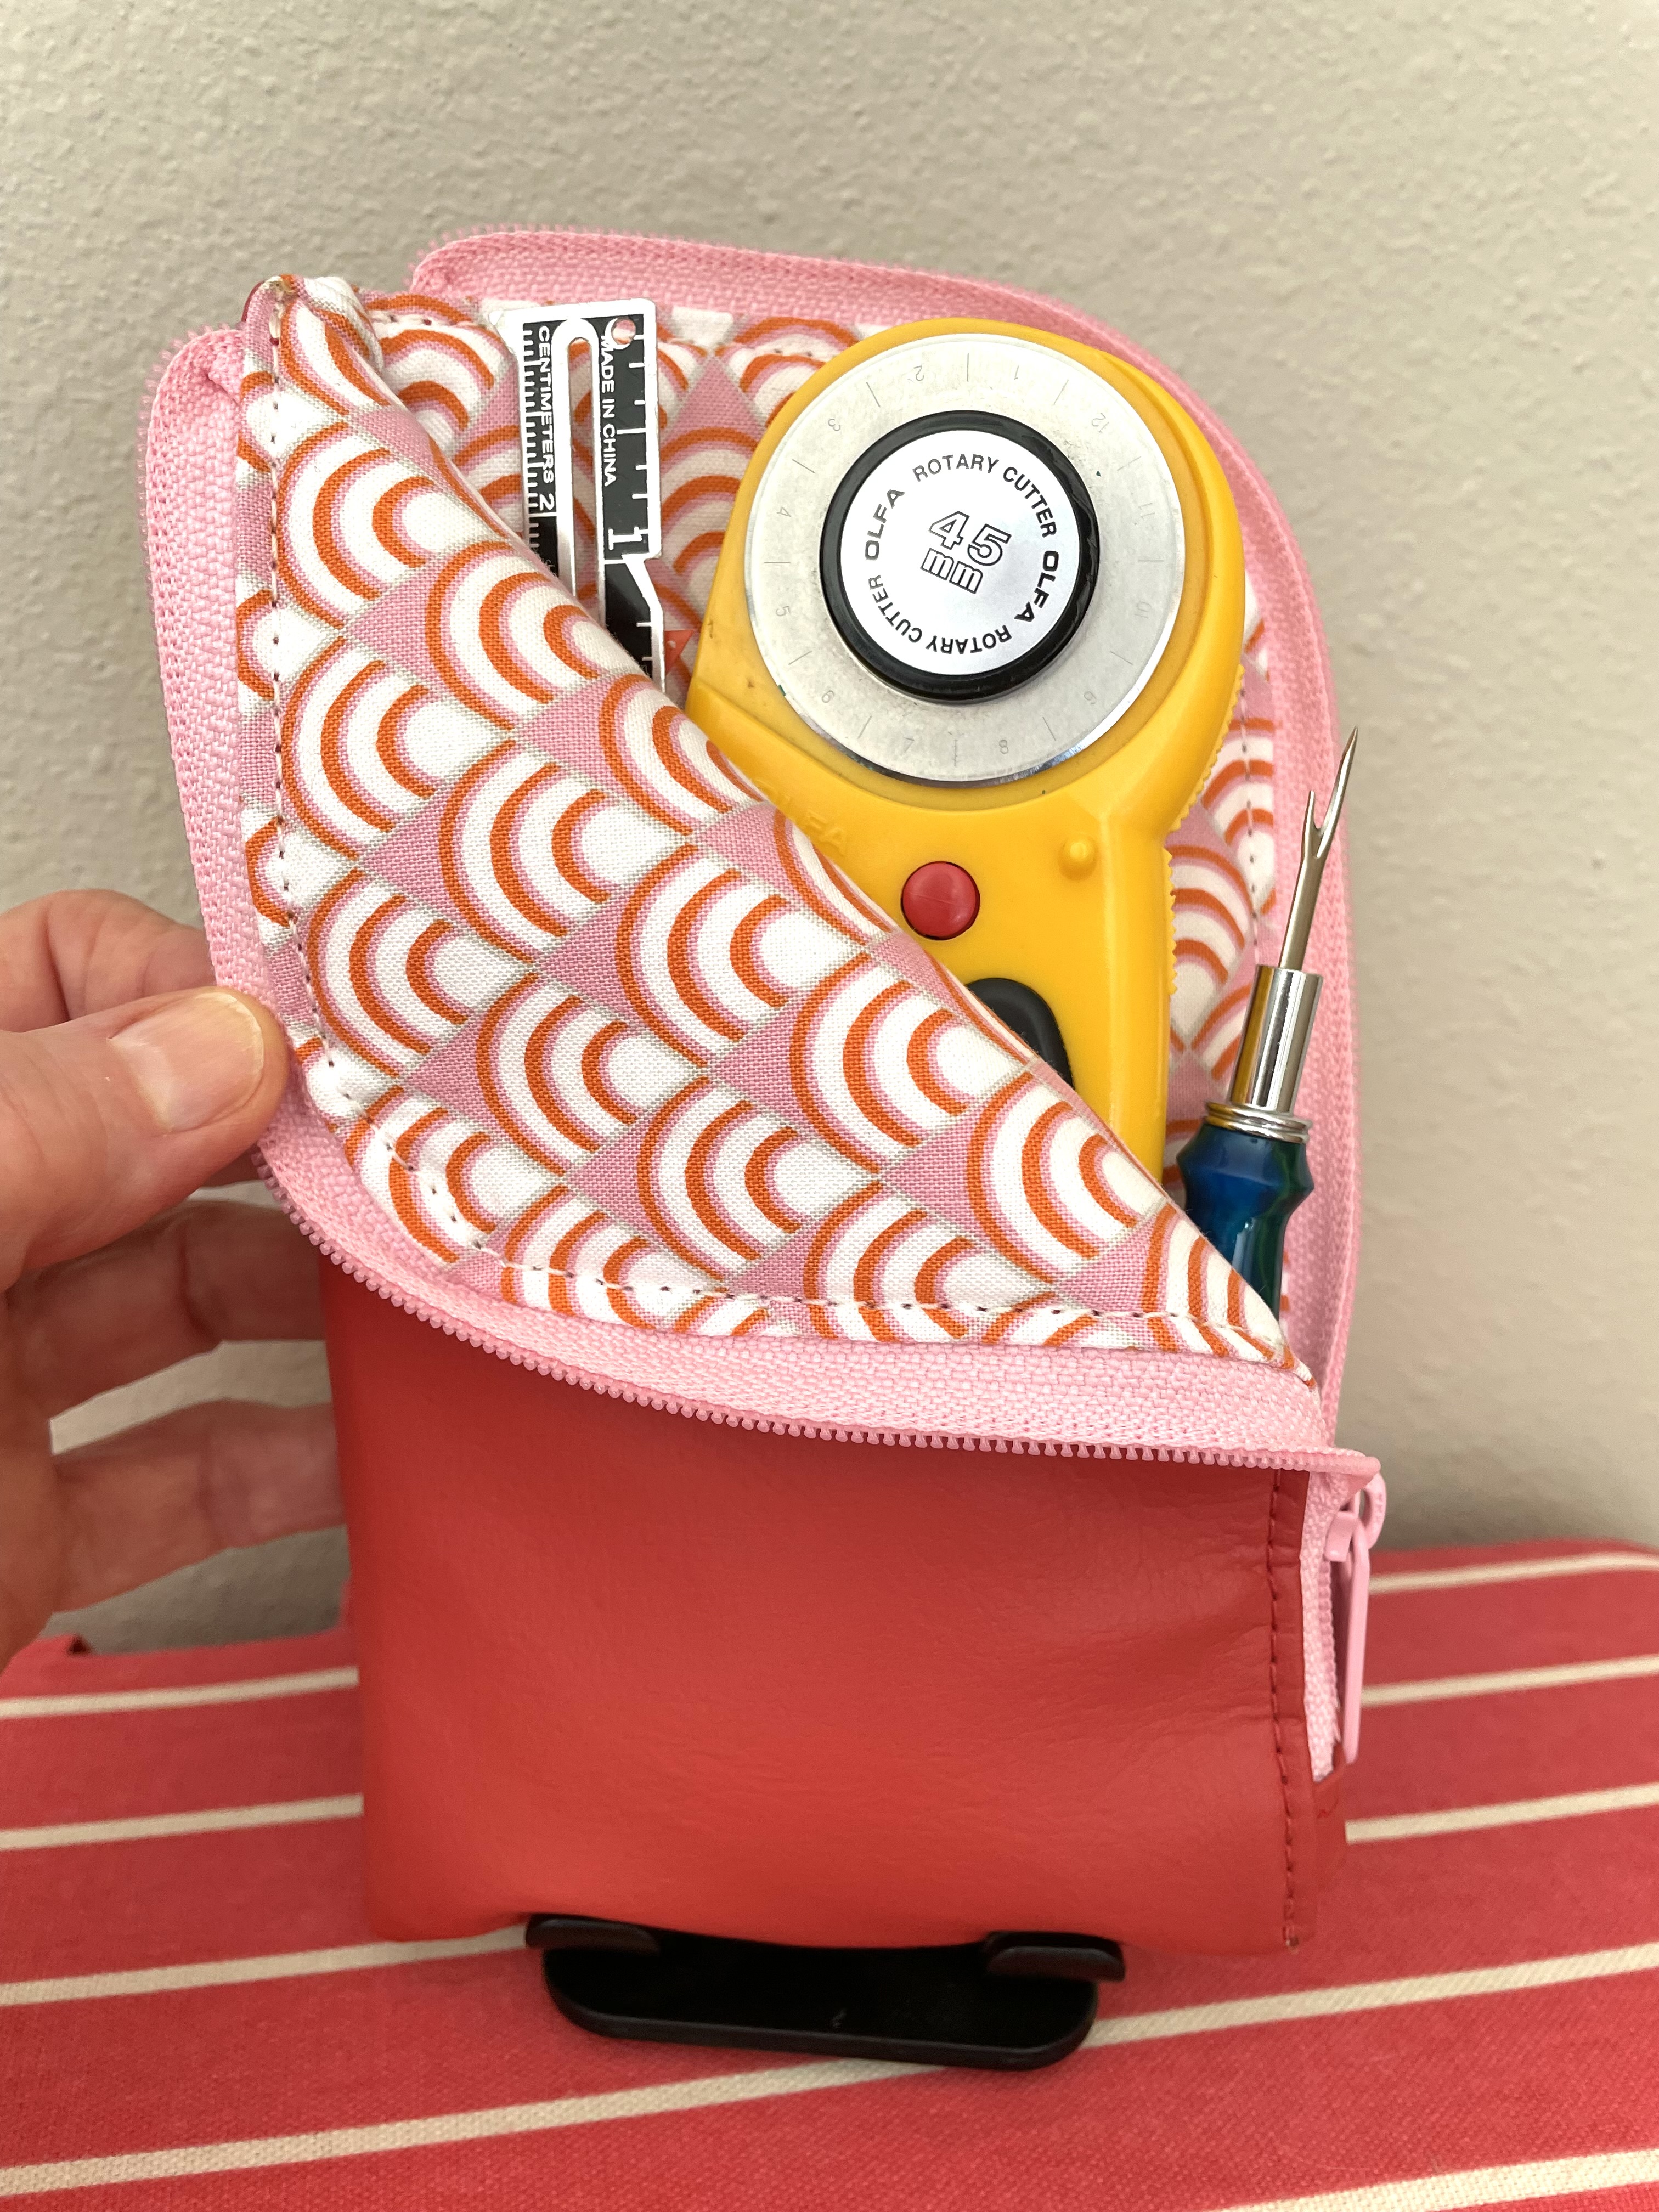
After my tester case, I made another one for Jess because she’d mentioned long ago that she needed a case for her sunglasses. Hers of course had to be (reddish) orange, so I used up a scrap of some vinyl I had left from a number of other projects. She chose the pink zipper and the matching lining fabric. She said the pouch works great for her glasses!

It could also serve a lot of other purposes, one of which might be storage for sewing tools.
Then I had to make one more, just because they were so quick and fun to make! I love this one, which went to Courtney for Christmas.

I added a tiny pocket on the inside to hold a gift voucher from a favorite online jewelry shop.

So there you have it. Three Sunny Saver pouches!

I wouldn’t be at all surprised if I made more of them. They’re just fun to make, useful for so many things, and they’re great scrapbusters! BTW, it’s an inexpensive pattern yet includes Linds’ usual tutorial video and SVG files for cutting machines! It’s a great bargain!


