


The tutorial includes pattern pieces for two different sizes, 9" and 6.5". Jess wanted one somewhere in between, so I did some calculating and ended up printing the pattern at 85%, which made it a little over 7.25". The tutorial did not include interfacing or a lining, but of course I had to have both. I used some Decovil Light and woven fusible interfacing, which gave it just the feel I wanted. I thought quite a while on the best way to do it so as to not have to bind those inner seams (because I hate doing binding)...

... but binding turned out to be the simplest way, so bind it, I did. I didn't happen to have any store-bought seam binding on hand that would even come close to matching, so I made my own out of the lining fabric (which was gifted to me by Jess a couple years ago). There are lots of tutorials for making bias binding, and although I'd done it other ways before, I'd bought the tools for making it in different sizes a year or so ago, so this gave me a chance to finally try one out. They're pretty simple to use once you get the hang of it.

My binding job was not neat in any way, but at least it's hidden inside where nobody will see it, anyway.
There's also a pocket inside the bag...
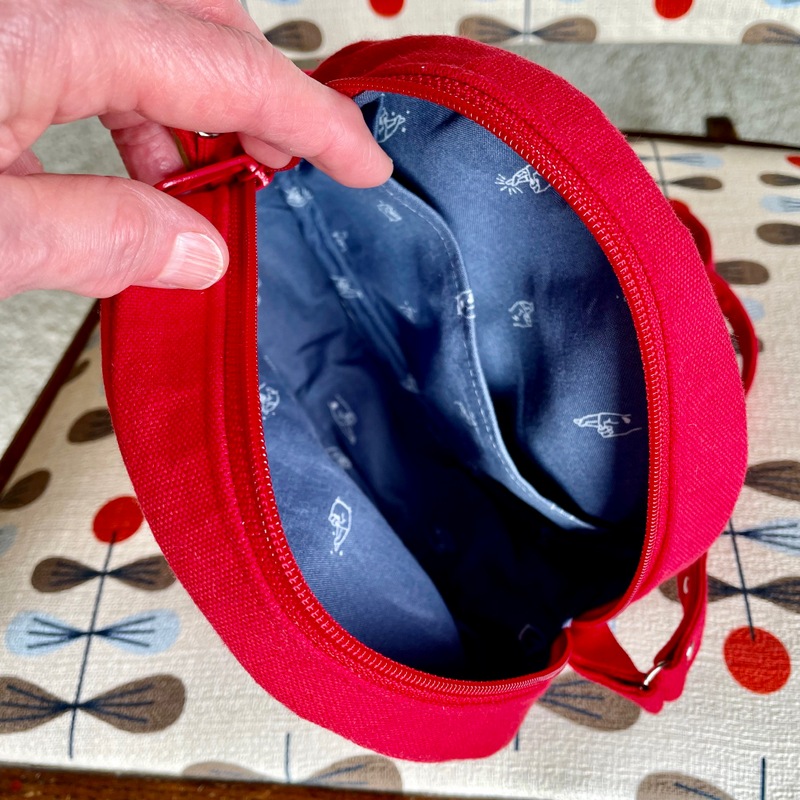
... as well as the one on the outside. Neither is quite big enough for a cell phone, but the inner one could hold your keys or anything that might scratch your phone in the main compartment.

I attached the straps a bit differently than instructed and fastened with a couple of rivets for interest.

The zipper went in very neatly, and it goes across the entire top of the bag.

It's a small bag! Here's Josie, my assistant, trying to be helpful (or snoopy) in giving you some size comparison.


But here are the cute pics of Jess with the bag. (Doesn't it go just perfectly with her Marimekko pants?) I am happy to say she is very pleased with it.


4 comments:
Update: My phone does fit in both pockets, vertically and horizontally. :)
Well, yeah… mine fit in there, too, but I didn’t think it was a very convenient fit, and I would never use either pocket for my phone. But go ahead if it’s to your liking! 😊❤️
Some red to go with black and white is always a smart combo! Good job on the bag, even though odd shapes like that are not always that practical. ;-)
Thank you, Rochelle! I think she was looking more for occasional fun, not necessarily practical. 🙂
Post a Comment