When I first saw a sample of this bag, before the pattern was even released, I thought that it would be the perfect purse for me! I bought the pattern at a discount on launch day, which was months ago. Then came the part that often takes me the longest… deciding fabrics, etc. It was mulling in my mind as I made all the rayon garments. I’d gotten some luscious vinyl in a grab box, and since it was blue, I knew I wanted to use that. I had several choices for linings, and as I was sorting fabrics in my old sewing room, I kept finding more possibilities so I kept changing my mind. 🥴
The hardest decision was what to put on the front of the bag for a trim. I did a lot of searching and finally settled on ribbons. I ordered three different blue ones from an Etsy shop. They were all beautiful, and with lots of thought plus some consultation from Jess, I/we decided this combo of two of them would be just right.
So here’s my new purse, the Aries Crossbody Bag, from the pattern by Knotted Threads Co. It turned out just as I had pictured it, and I LOVE it!
It has three zippered pockets… one on each side plus one in the center gusset area which is held closed by a tab with a magnetic snap. So there are plenty of options for organizing all the things. That center area should be ideal for keeping a phone handy.
I think that little flower zipper pull is going to go. As Jess said, it’s too “cute” to really go with the elegant flowers on the ribbon.
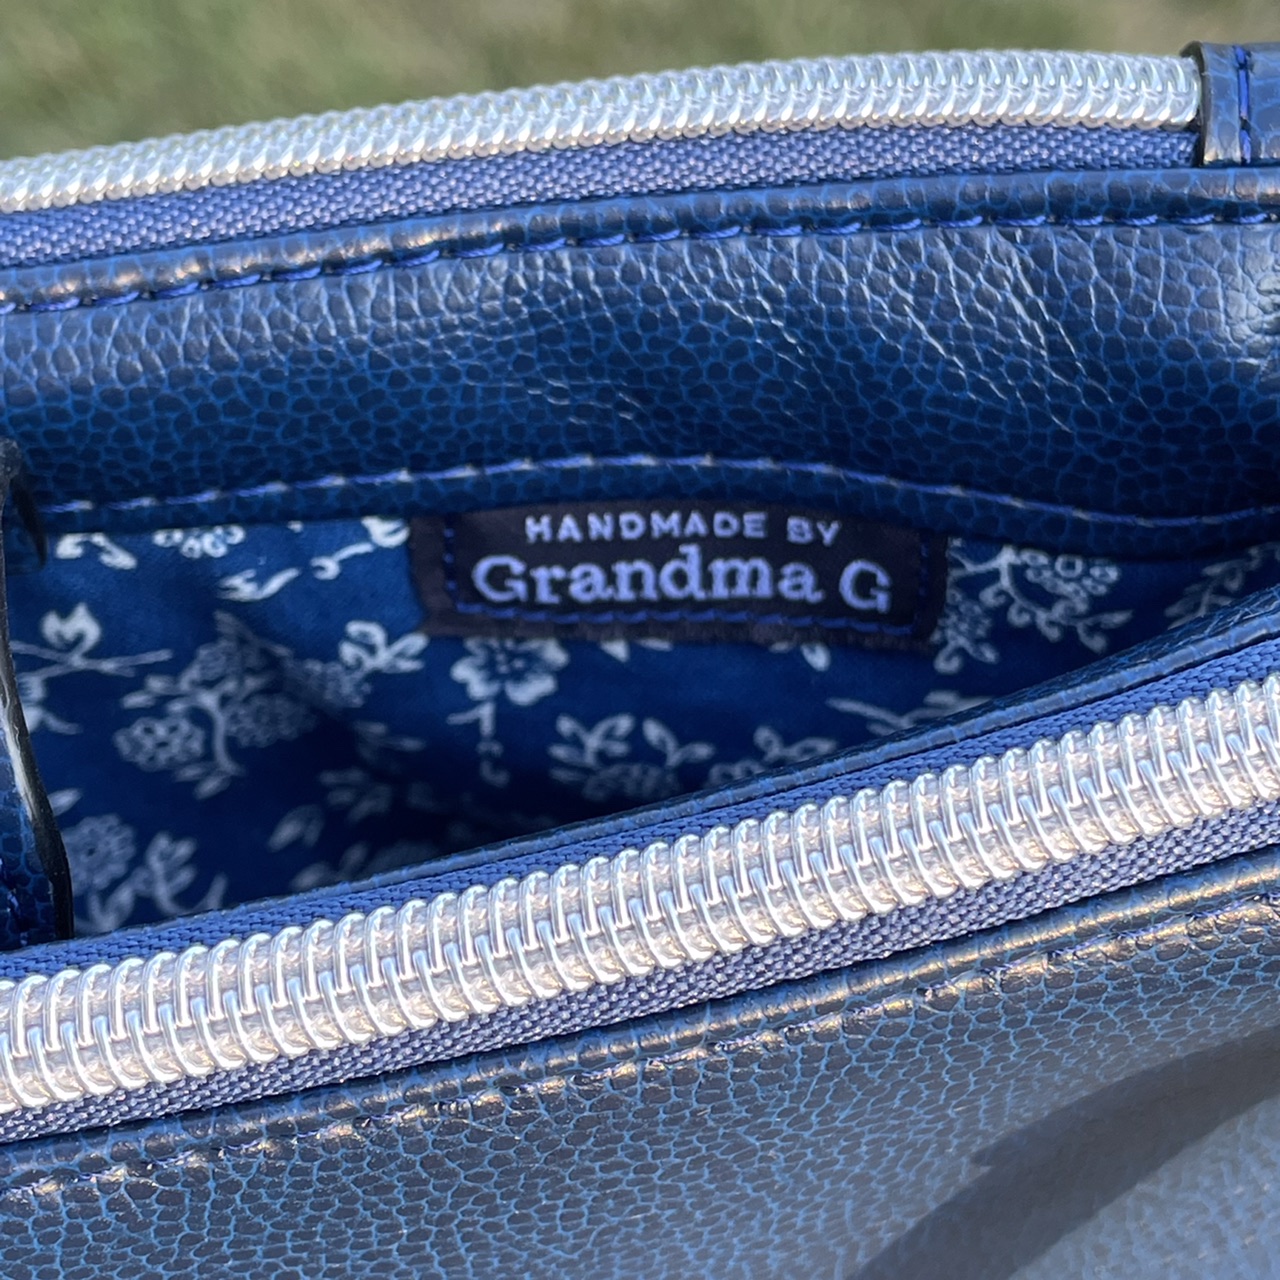
I even remembered to add my tag. It wasn’t necessary, since the bag is for myself and I know who made it, but I like it there (and I still have a couple hundred of them to use up!). 🙂
The pattern was excellent, very detailed with lots of good tips, and it had an accompanying video which was also great. I followed it pretty much to the letter because I wanted it to be as perfect as possible.
I did take just a few pics along the way. Below are the D-ring tabs and the snap tab that holds the center pouch closed. I was in the process of edge-painting them. I used 3 coats of base coat and 2 coats of color. It was very quick to do but did require some drying time between coats.
Here’s my Sailrite machine at work on the topstitching. I used the left zipper foot, and underneath it here is just a makeshift fabric “hump jumper” to keep the zipper foot level with the center foot (necessary to prevent skipped stitches).
Beautiful result, right?
Everything went very smoothly (if you don’t count running out of bobbin thread on the strap… I had even checked it first, but I forget that because the thread is thicker, there’s not as much left on the bobbin as it looks like 🙄). The scariest part was sewing on that ribbon, because it needed to be right the first time around. I used double-sided tape to secure it first, and the walking foot did the rest of the job to perfection. Yay!
It’s a smallish bag, which is what I like nowadays. I don’t feel the need to carry the kitchen sink along anymore. You can get an idea of its size here.
I love it (have I said that already?) and can’t wait to take it on its first outing! I also loved the pattern. It gave my brain a bit of a workout, mainly in keeping my pieces straight so I didn’t mix things up with those two outer pockets, but exercise is good! I’d happily make another bag like this someday, too.


No comments:
Post a Comment