Saturday, July 30, 2022

Monarch Mini Crossbody Bag

I mentioned in my last post that we’d been to visit our daughter and hubby in the Cincinnati area. While we were there, their neighbors/friends got a new puppy, and we got to meet him before we left. He’s an aussiedoodle (a cross between an Australian shepherd and a poodle), and isn’t he just super cute?! He’s only 9 weeks old here, so he’s going to be a BIG dog!


Fast forward to our being back home again, and I got a new pattern to test from Dog Under My Desk. This was designed to be a dog-walking bag, but could also be useful for other things. I was just going to make it for myself and leave off the doggie parts, but then I remembered the puppy and thought it’d be fun to make it for his owners. I consulted with Jess about it, and she thought it was a great idea. The pup’s name is “Cowboy”, and she said they’re going all out with the western theme. She said it’d be fun to make it with some kind of western-type fabric, but then said “but why would you have any of that?”

Ha! I occasionally buy grab bags of fabric, and I remembered that I did indeed have a western print… of all things, cowboys! Perfect, right? So then I decided waxed canvas would be just right for a western-type bag. Here it is:


The front has a zipper pocket as well as a slip pocket behind that.The back has another slip pocket, plus triangle rings so that you can remove the strap from the crossbody position, shorten it, and clip it on to the rings to change the bag into a waist pack. 


There’s a mesh pocket on one side that holds a small water bottle (in case the dog gets thirsty), and on the other side is a pocket to hold poop pickup bags that come on a roll and can be fed out through the hole to be very handily accessible.


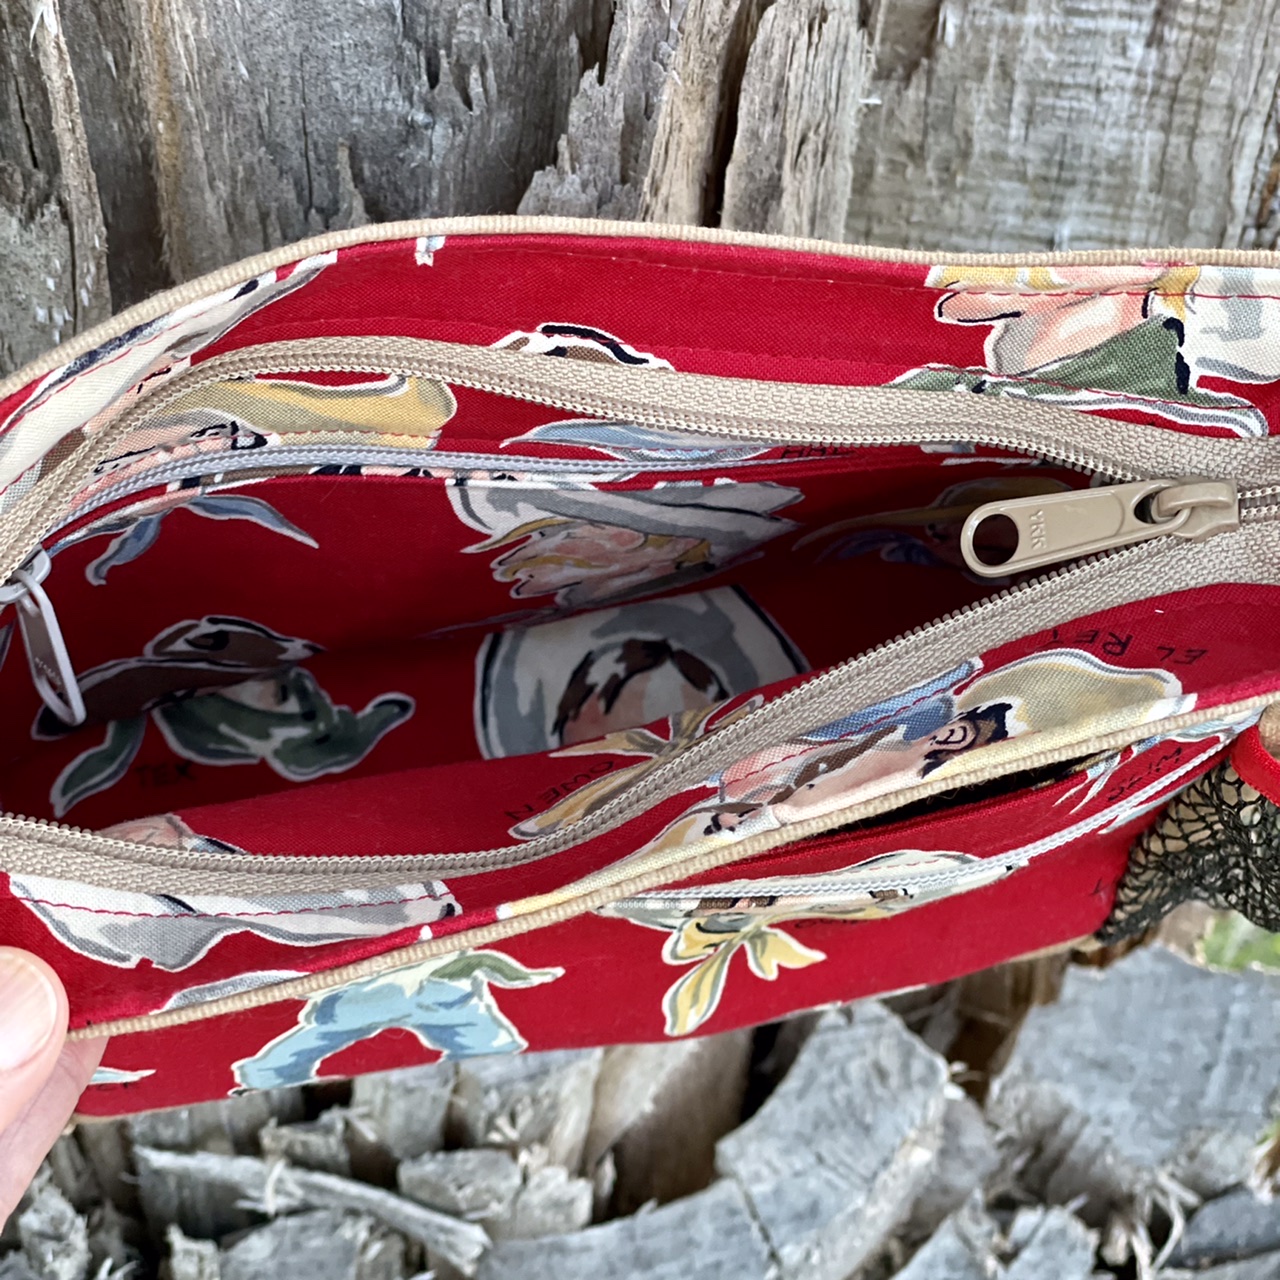
The inside of the bag opens wide with a recessed zipper and is big enough to hold treats and maybe a toy or two. I used as much of the cowboy fabric in there as I could, to get it used up, because I doubt I’ll ever have another appropriate project to use it for.

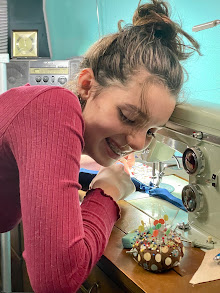
I did have just enough fabric left to make a bandana for Cowboy. I had my favorite model, Miss C, model the whole ensemble for me before I shipped it off to Jess to give to their friends.


(How did she ever grow up so fast?!)

So there you have it… the whole long-story-not-shortened. The bag was very happily received a couple of days ago. Jess said a photo would hopefully be coming of Cowboy modeling his own bandana… once they can get him to hold still long enough… and not try to eat it. LOL He is a puppy, after all. I hope they enjoy their walks in the future.


Now I’m considering making a bag for myself from the same pattern, minus the side pockets. The hardest part is always choosing fabrics. Meanwhile, if you’re interested in making one for yourself, it’s called the Monarch Mini Crossbody bag, and you can find it here. This new pattern and all the others in the shop are at a 20% discount through August 3rd!

In my last post, I also mentioned that I was helping Courtney with a 4-H sewing project. She finished that about a week ago, and it only took three very focused afternoons of sewing. She did a beautiful job, and I sure wish I could show it to you right away… but it’ll have to wait. Judging is August 6th, if I remember right, so not terribly long to wait. The fair starts on August 17th. Anyway, you can be sure I’ll show you and brag on how great her project turned out! ;)

Wednesday, July 20, 2022

Fumeterre Skirts

What would you do if you received yards and yards of two different fabrics in the mail?

Just look at those tigers! What would YOU make out of fabric like that?

Well, if you had a daughter like mine, you'd make her a couple of skirts... at her request, of course. She wanted something besides shorts and capris to wear for summer... something cool and comfortable. This fabric fit the bill - it's very light and floaty cotton (the gray is chambray and the tigers one is lawn). It came from Oak Fabrics (again at Jess's request), along with a Fumeterre Skirt pattern by Deer and Doe, plus all the needed notions. (Thanks, Rachel!) 
There are two versions of the skirt, one with a button front, the other with a fly front and pockets. I made the button one first. There are eight panels in the skirt, and I did french seams! That's a lot of miles of stitching, but it gives a nice professional touch, especially for such light fabrics.

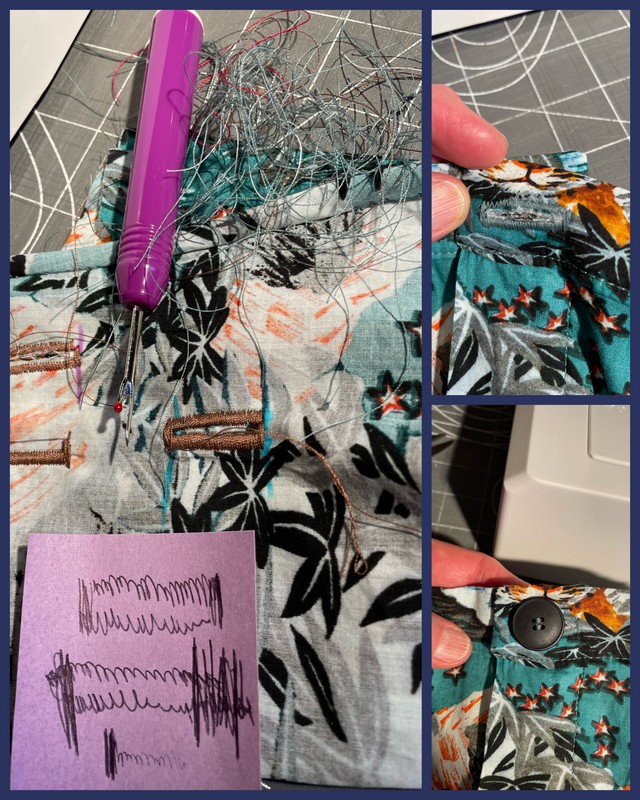
Here's a closer look at the fabric and waistband-in-progress.

I got it finished except for the hem and sewing on the ELEVEN buttons. Then I cut out the other version out of the tiger fabric. The next day I packed, and the following day we headed to Jess's in Newport, KY! Here's the yellow bridge that means we're almost there.

Voilà, the completed skirt!


Jess did most of the work on the second skirt, including the french seams. Here's proof!

The buttonholer on her machine wasn't very cooperative, though. We wasted half a day trying to get it to make a nice buttonhole, but it didn't like the seam allowances underneath, so we gave up and I made one just using zigzag stitching. It turned out acceptable. But thank goodness I'd done those ELEVEN buttonholes on my machine at home!

After all was said and done, we had some fun doing a photo shoot between their house and the neighbors'.

We spent nearly a week there and had a lovely time! After we left, Jess and Alex headed south for a vacation of their own. They stayed in a very cool, artsy hotel where Alex took some "glamour shots" of Jess in the tigers (which she loves and seems to be her favorite of the two).

Below I think she's showing how the two front panels just happened to end up with matching tigers side by side. Not preferable, but who's gonna notice (or care)?


They also visited a beautiful vineyard. Jess's red accessory may look familiar. If not, just back up a blog post. :)


I really enjoyed working on those skirts. The pattern was easy to sew, and I'd gladly make another one. 

However, I've already finished another pattern test, the results of which I'll show you once the pattern is released. AND... Miss Courtney started working on another 4-H project here yesterday, and I'm helping her with that. You'll have to wait till county fair time in August before I can show you, though. Clue: It's something sewn, but it's not a garment! :)

Wednesday, April 27, 2022

All Well Full Moon Bag

A few weeks ago, I was in between pattern tests and wanting to sew 'something'. I mentioned this to Jess, and she said she'd been thinking that a little round, red bag would be fun to wear with some of her black-and-white outfits. I figured I could manage that, so we searched around for a pattern and ended up with the tutorial from All Well for the Full Moon Bag, which you can get free by signing up for their newsletter. (I did that, and the newletter is not bothersome... I've maybe gotten two so far.) The instructions are easy to follow, even for a beginner. 

I happened to have a solid red canvas on hand, as well as a matching zipper and everything else needed, so over a few weeks, and when I was in the mood to sew, I worked on it. It was just nice not to have the pressure of 'having' to get something done by a deadline! Here's my little Full Moon!

The tutorial includes pattern pieces for two different sizes, 9" and 6.5". Jess wanted one somewhere in between, so I did some calculating and ended up printing the pattern at 85%, which made it a little over 7.25". The tutorial did not include interfacing or a lining, but of course I had to have both. I used some Decovil Light and woven fusible interfacing, which gave it just the feel I wanted. I thought quite a while on the best way to do it so as to not have to bind those inner seams (because I hate doing binding)...

... but binding turned out to be the simplest way, so bind it, I did. I didn't happen to have any store-bought seam binding on hand that would even come close to matching, so I made my own out of the lining fabric (which was gifted to me by Jess a couple years ago). There are lots of tutorials for making bias binding, and although I'd done it other ways before, I'd bought the tools for making it in different sizes a year or so ago, so this gave me a chance to finally try one out. They're pretty simple to use once you get the hang of it.

My binding job was not neat in any way, but at least it's hidden inside where nobody will see it, anyway. 

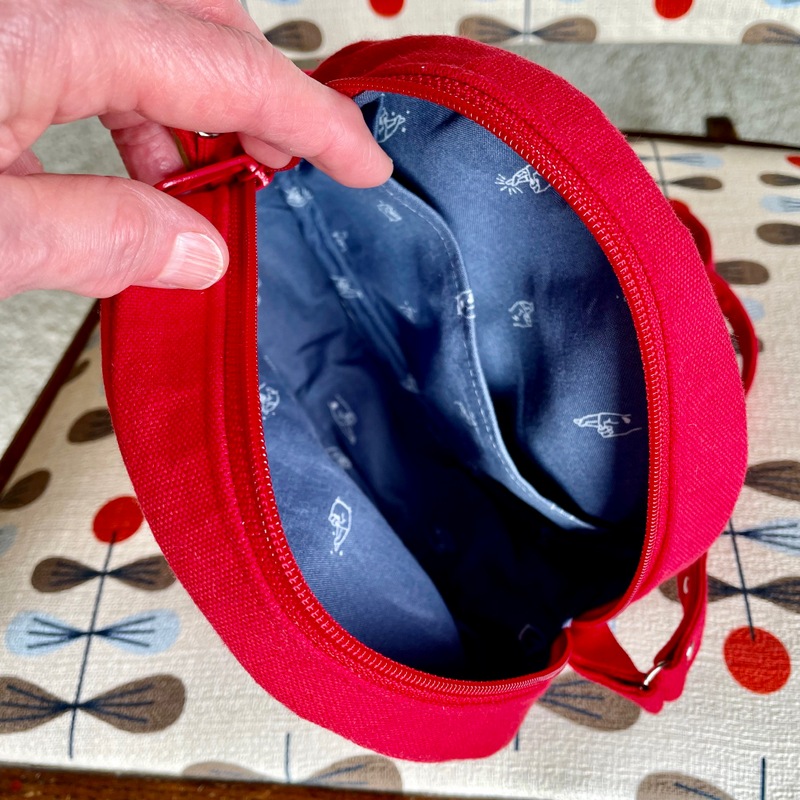
There's also a pocket inside the bag...

... as well as the one on the outside. Neither is quite big enough for a cell phone, but the inner one could hold your keys or anything that might scratch your phone in the main compartment.

I attached the straps a bit differently than instructed and fastened with a couple of rivets for interest.

The zipper went in very neatly, and it goes across the entire top of the bag.

It's a small bag! Here's Josie, my assistant, trying to be helpful (or snoopy) in giving you some size comparison.


If that chair fabric looks familiar, it's barkcloth that Jess designed a few years ago, and she did the re-covering job on the chair for us. I thought it was a good background for the bag.

I took a selfie, too, for more size reference.

But here are the cute pics of Jess with the bag. (Doesn't it go just perfectly with her Marimekko pants?) I am happy to say she is very pleased with it.


Thursday, March 31, 2022

Unflappable Messenger Bag

I was happy to once again be able to test a new bag pattern by Erin Gilbey of Dog Under My Desk. This one is called the Unflappable Messenger Bag, because it's messenger bag size but obviously doesn't have the usual flap that most(all?) of the others do. I'd also say it's an "unflappable sew" in that you won't be apt to get perturbed or frustrated when making it. It goes together very smoothly, and it sews without problems on a domestic sewing machine.

Here is my version, front view:


Back view:

The pocket on the back is a slip pocket, but you could optionally divide it or even add a magnetic snap closure. 

One of my favorite features is the front pocket with a hidden zipper for extra security:


The bottom of that pocket also has darts to give just a little bit of extra room.


The inside has a divided slip pocket on one side...

... and a zippered pocket on the other. The pattern also includes a water bottle sleeve at one end of the inside, but I chose to leave that off.

There's a zipper across the top, too, to keep all your things from falling out.

It's a good sized bag that'll hold lots of stuff, and even big enough for a small laptop in the outside pockets. Here's a selfie for size reference. However, I would normally carry it crossbody, since it's such a large bag. 


The solid fabric I used on the outside is a lightweight canvas, and the crazy print is an African wax block print that I got in a fabric grab bag and wondered what in the world I'd use it for. :) I think it made a great accent for this bag! The lining fabric is a twill.

The pattern was just released today, and it's on sale through Tuesday, April 5th. (The discount price will apply automatically at checkout.) So if you're looking for a big bag to carry 'all the things', or just a pleasant pattern to sew, head on over and grab this pattern while it's on sale: Unflappable Messenger Bag.

Tuesday, February 15, 2022

The LindSling

Hmm... I started this post almost 2 weeks ago. I guess I should finish it, huh? Can you tell I'm not very excited about blogging anymore? However, I do like to keep a record of more of the details of a project than what I put on Instagram, so here is where they shall go... when I get around to it. Ha.

This is from the newest pattern by Linds Handmade Designs, the LindSling, which I tested. As the name states, it's a sling bag. The fabric I used is babywale corduroy, designed by Jess (a.k.a. HowAboutOrange) for Cloud9 Fabrics several years ago. The strap is cotton webbing, and the grab handle is made from a scrap of faux leather.


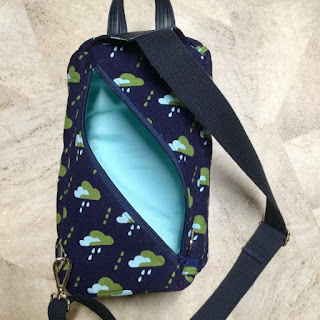
It has a zippered pocket on each side, perfect size for a cell phone or anything else you might decide to use it for.


It also has a zippered pocket on the back, which sits against your back when wearing it, thus making it anti-theft for your more valuable items. Your phone could go in there, too, but it wouldn't be quite as handy to get at as from one of the side pockets.


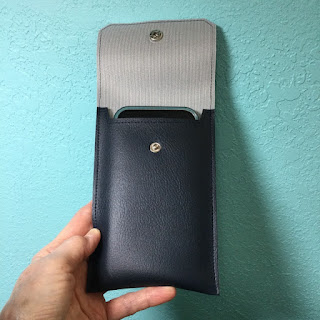
Speaking of that phone, the pattern includes a little bonus pattern for a phone pouch that slides onto the strap, so it can actually be worn on your front. Can't be any handier than that!


It's super easy to make...


... it doesn't even have to be lined!


Here are a few progress photos I remembered to take. The side pockets;


The back with its diagonal zipper:


And here's the inside lining, just about to be bound. Yes, there's binding on the inside seam all around, but it's pretty easy to do, and even if you don't get it done perfectly, the binding really doesn't show anyway, as it's tucked inside.

I used waterproof canvas for the lining, which made it easier because it requires no interfacing, and since it doesn't fray, I also used just a single layer of it for the binding.


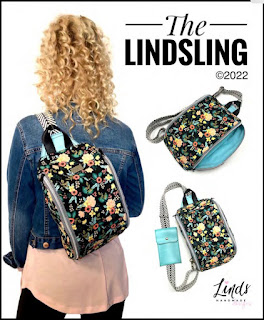
Since it's a little hard to take a photo myself of something on my own back, here's the cover of the pattern so you can get some size perspective.


The actual size is approximately 7" wide by 4" deep, and 13" tall. I didn't get this post written in time for you to take advantage of the introductory sale price, but all of her patterns are reasonably priced anyway, in my opinion!